|
Home - RV-9A: Ailerons
|
|
|
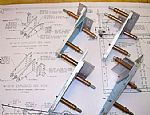 5/1/2007 - Started work on the aileron bracket assemblies
I found all the parts and clecoed each bracket together. I couldn’t find the angle piece AA6-125x1x1 which makes the aileron stops. I ordered some 1 inch and 7/8 inch Delrin Rods from Aircraft Spruce ... read more
|
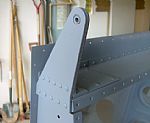 5/2/2007 - Riveted on the Aileron Brackets
The longeron yoke on the pneumatic squeezer worked great for the first 4 bottom rivets on each bracket, but only after I altered the end of the yoke where the dimple die is inserted. Using the scotchb ... read more
|
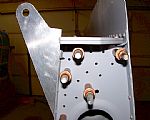 5/3/2007 - Starting drilling and clecoing the flap brackets on
Heading scratching time again. This first part was easy, clecoing on the big flap bracket. The holes in the end rib were predrilled, not so on the other 2 flap brackets. These ribs have 2 pilots holes ... read more
|
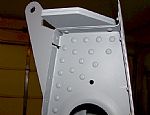 5/7/2007 - Started riveting on the flap brackets assemblies
The inboard bracket was pretty easy. I opted to use the old rivet gun and bucking bar combination. Unlike the other 2 flap brackets, these rivets were easy to get to. I riveted on the main W-925A brac ... read more
|
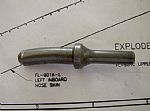 5/8/2007 - Received my single offset rivet set from Averys
Now I can finish putting in those last rivets in the W-925C flap attach angles.
... read more
|
 5/23/2007 - Started on the flap and aileron gap fairings
I clecoed on the fairings and started final drilling the top 3/32 holes. ... read more
|
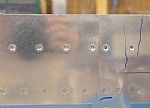 5/26/2007 - Dimpled the holes in the top skin for the gap fairings
I started off using my avery hand squeezer with a longeron yoke to dimple these holes. The dimples looked fine on the thin outboard skin, but the thicker inboard skin dimples started showing craters ... read more
|
 5/31/2007 - Finished riveting on the gap fairings (kind of)
I used my Avery hand squeezer and small no-hole yoke to put in the rivets on the skin side and used the rivet gun and bucking bar on the rear spar.
... read more
|
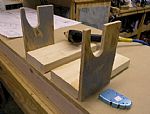 6/2/2007 - Built the particle board work top and the saddle jigs
This instructions say to build this work top from 1 inch particle board. All I could find was 3/4 inch particle board from Home Depot. At this point, I'm not sure that I even need to build this work t ... read more
|
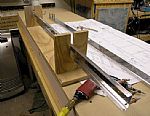 6/6/2007 - Clecoed and drilled the A-908 reinforcing plates
It's back to head scratching time. I had gotten used to the knowing what comes next while working on the right wing, having already done the left wing before. That's OK, it's good brain training.
... read more
|
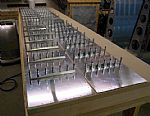 6/8/2007 - Look Mom! I'm growing clecos!
I'm starting to understand why Van's wants us to build the 2'x8' extreme flat table top for the flaps and ailerons. If any part of this construction is not done on a flat service, it could result in o ... read more
|
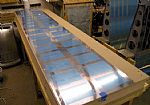 6/12/2007 - Time for blue film therapy!
Got the old soldering iron out and started removing the excess blue plastic film.
... read more
|
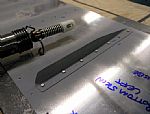 6/13/2007 - Back riveted on the Aileron stiffeners
I used Scotch magic removable tape to hold the line of rivets in for each stiffener before I backriveted everything on my ... read more
|
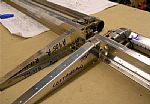 6/14/2007 - Started work on the A-905 aileron ribs
This is where I have to be careful, what's top, what's bottom, what's left, etc. I laid out the A-905 ribs on the left aileron first, because that's what is shown in the drawing, then by process of el ... read more
|
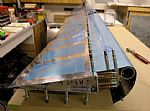 6/15/2007 - Clecoed the A-901A nose skin to the A-902 bottom skin and A-903 spar
So far so good. This nose skin is made from fairly thick aluminum. I'm not looking forward to what comes next.
... read more
|
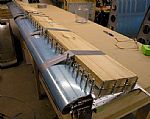 6/18/2007 - Started setup to final drill the trailing edges
I knew that I needed something heavy to hold the skins down. I had heard that other builders use lead shot in a bag, laid on top of a board to hold stuff down, but I didn't know where to get any and I ... read more
|
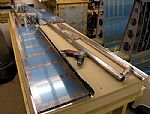 6/22/2007 - Dismantled both ailerons and started deburring
It took quite a while to un-cleco everything. There are a lot of parts in these dudes.
... read more
|
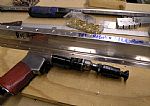 7/31/2007 - Countersunk the aileron spar and reinforcement plates
I haven't worked on the RV for quite a while because of tennis elbow in my right arm. From all of the articles I've read, the only way to get rid of it is to not use your arm, great... It felt good to ... read more
|
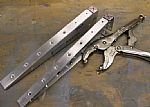 8/1/2007 - Dimpled the aileron ribs
I had to use my Avery vise grip dimplers for the majority of the holes in these ribs. As you can see, there were only 2 holes on each side where I could use my hand squeezer for the dimples. In order ... read more
|
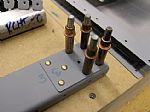 8/3/2007 - Riveted the A-908 reinforcing plates to the A-903 spar
It's a little tough to interpret the plans here, trying to decide which holes get rivets. I used my pneumatic squeezer and easily put these rivets in.
... read more
|
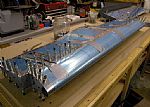 8/4/2007 - Started clecoing the leading edge skin to the spar
I started off putting duct on the aileron skins and pulling the leading edge skin down to the spar a little at a time. Then I started putting in clecos, starting the leading edge ribs and then moving ... read more
|
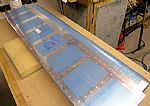 8/5/2007 - Riveted the leading edges to the top skin and spar
The learning curve on something new like this part can be a real pain in the bahootie. Usually after about 3 to 5 rivets I've got the technique down for the rest of the session. But those first 3 or 5 ... read more
|
 8/7/2007 - Finished riveting the bottom of the leading edge to the spar
This is one of those situations where after bucking one of the rivets you think that the size rivet called for on the plans is not long enough. So on one rivet, I tried to use a size 4 rivet instead o ... read more
|
 8/8/2007 - Riveted the top and bottom skins to the end ribs
I riveted the bottom skins first and the flipped the ailerons over riveted the top side. I opted to put a flush head pop-rivet in the most aft rivet hole.
... read more
|
 8/11/2007 - Ready to start riveting the trailing edges
It took quite a while to get the first aileron loose from the table where I clecoed it to the work top. Some of the proseal leaked out around the clecos under the aileron, apparently glueing the ailer ... read more
|