RV-9A: Ailerons - 8/1/2007
Home Previous Entry Next Entry Back |
Share on:

|
|
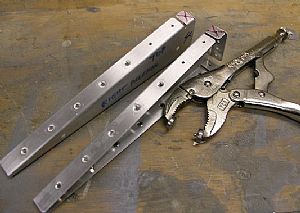 Dimpled the aileron ribs Dimpled the aileron ribs
I had to use my Avery vise grip dimplers for the majority of the holes in these ribs. As you can see, there were only 2 holes on each side where I could use my hand squeezer for the dimples. In order to get a clean dimple, I had to set the vise grip dimplers to their most tightest limit.
|
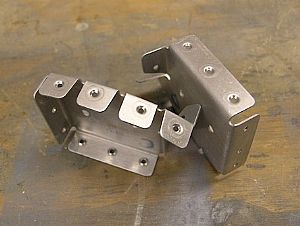 Dimpled the nose ribs Dimpled the nose ribs
This material is thicker than the other longer ribs, so I was wondering whether they were supposed to be countersunk or dimpled. Luckily I found an example picture in the back of the wings section that showed that they are supposed to be dimpled.
|
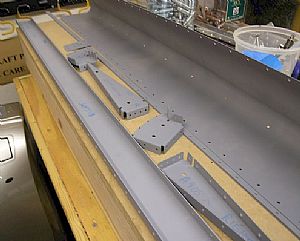 So far so good So far so good
I'm cleaning, dimpling and priming each part, one or two at a time. The Sherwin Williams rattle can primer dries so fast that it doesn't really slow the process up.
|
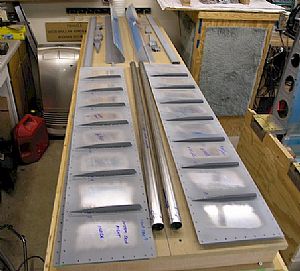 Thar tis'! Thar tis'!
Ready for ass-sembly! So far I have talked with 3 other RV-9A builders who said that they had to trash their ailerons and start over. I'm starting to see why. There are many places in the construction of these dudes where things can go south.
|
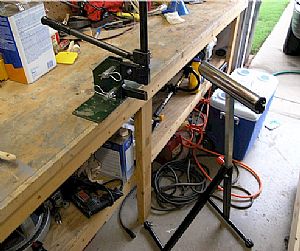 My homemade hand squeezer stand My homemade hand squeezer stand
I own both Avery and ATS hand squeezers. The ATS squeezers have a work bench stand that allows you to mount the squeezers so you can have a hand free (for 50 bucks). I decided to make my own bench stand out of some extra metal flower bed trim and a couple of fat bolts from the special nuts and bolts section at Lowes. Also my table saw roller came in handy to help hold up one end while I was dimpling on the other.
|
Home Previous Entry Next Entry Back
|