RV-9A: Ailerons - 8/3/2007
Home Previous Entry Next Entry Back |
Share on:

|
|
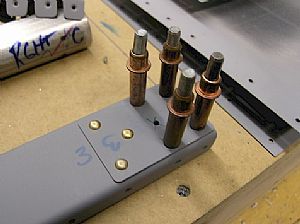 Riveted the A-908 reinforcing plates to the A-903 spar Riveted the A-908 reinforcing plates to the A-903 spar
It's a little tough to interpret the plans here, trying to decide which holes get rivets. I used my pneumatic squeezer and easily put these rivets in.
|
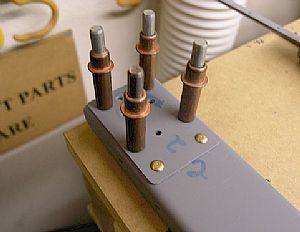 Here's the other end of the spar Here's the other end of the spar
|
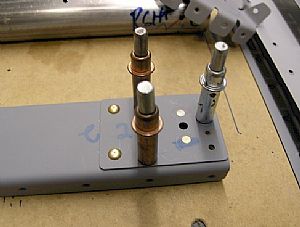 Riveted on the K1000-3 platenuts to both spars Riveted on the K1000-3 platenuts to both spars
These were also easy to put on with my Avery hand squeezer.
|
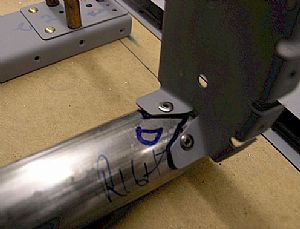 Riveted the A-909 counterbalances to A-904 nose ribs Riveted the A-909 counterbalances to A-904 nose ribs
You'll probably notice that there are other holes in the counterbalance pipe from previous attempts at trying to get the counterbalance to fit the nose ribs and spar with out any twist the whole assembly. No worries, the skin will hide these boo-boos.
|
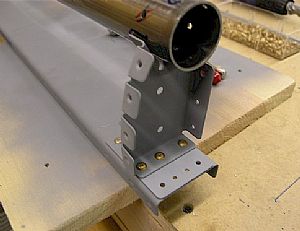 Riveted the A-909 counterbalances/A-904 nose ribs assebly to the spar Riveted the A-909 counterbalances/A-904 nose ribs assebly to the spar
Once again, this was easy to do with the pneumatic squeezer.
|
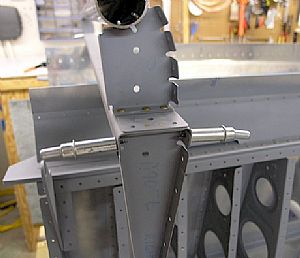 Riveted on the end ribs Riveted on the end ribs
Only 2 inner flat head rivets here. The outer two holes will get bolts later.
|
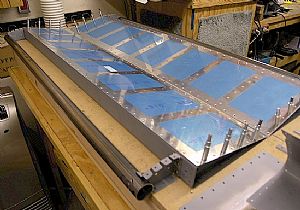 Clecoed on the top skins Clecoed on the top skins
This is moving pretty fast. I was puttin' in clecos across the spar when I read in the plans to only put clecos into the end ribs. Dang it!
|
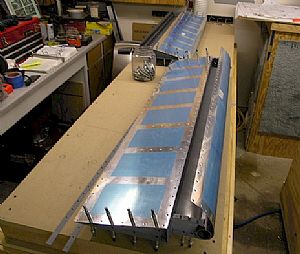 All the skins are clecoed on! (kind of) All the skins are clecoed on! (kind of)
All I have to do now is get that %^&* leading edge skin cleocoed down onto the spar. It's a major wrestling match to get this dude in place. I have to mention here that one of the right aileron leading edge skins was formed totally different from the left aileron leading skin. The right skin was curved on the bottom with the top of the skin was straight out from the leading edge bend. The left skin was completely opposite. The bottom of the skin was flat and the top of the skin was curved. Here's the weird part, the right leading edge skin went on without any trouble and the left leading edge skin was a major pain in the bahootie to put on. Also the right skin had no arc across the counterbalance pipe, unlike the left skin which had 1/8" arc across the counterbalance pipe.
|
Home Previous Entry Next Entry Back
|