|
Home - RV-9A: Electrical
|
|
|
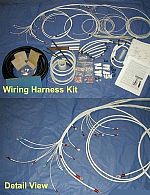 9/10/2010 - Time to start working on the wiring
I've decided to heavily document this wiring process for my RV using Van's pre-wired wiring harness. I admit that I don't know squat about wiring, so maybe someone out there in RV land can benefit fro ... read more
|
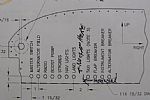 9/14/2010 - Time to drill some holes in the panel!
Spooky? Ya' dang right it is!! I'm really checking out this drawing to make sure I don't screw up. First things first. I have to drill the first 3/4" hole in the panel where the ignition switch goes. ... read more
|
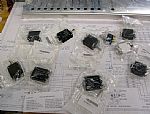 9/19/2010 - The Switch/Breaker kit has arrived!
This kit was put together to correspond to the Wiring Harness kit that I received a while back. I should have ordered them at same time, but I didn''t even know that this switch/breaker existed. I als ... read more
|
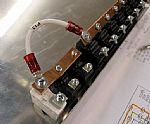 9/26/2010 - Hooked the 2 power buss bars together
This big wire provides the positive power between each buss bar in the switch and breaker series.
... read more
|
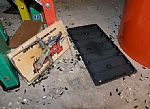 10/12/2010 - The Garage Rat from Hell
For the past 2 weeks I have been trying to catch a large rat in my garage. My wife has a bag of birdseed in the garage and the rat just loves the birdseed. We tried putting a plastic top on the birds ... read more
|
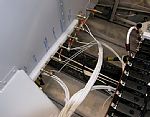 10/20/2010 - Temporarily hooked some wires to the buss bar on the sub panel
This is the first step in the harness hanging adventure. These wires are hung according to the wiring drawing. Each wire has an identifying tag label on it.
... read more
|
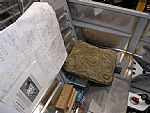 10/23/2010 - Time to hook the wires to the panel switches and breakers
I like this part of the instructions where it says to sit in your aircraft and put the panel in your lap to install the wiring harness wires to the panel. I realized that I have never actually sat in ... read more
|
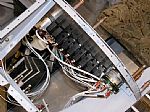 10/25/2010 - All the wires are hooked to the switches and breakers
Today I finished up hooking the wires to the flap switch and clecoed the panel back into position. Nerve racking but fun!
... read more
|
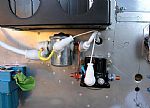 10/31/2010 - Hooked up the Master Switch wires
The instructions say to do this last, but I wanted to test some of my wiring now. So I used my new #8 wire crimpers to attach the connector to the largest wire. It took both hands to make this crimp. ... read more
|
 12/5/2010 - Backtracking on stuff left undone
Here's where things get a little unorganized for me. I really like the concept of step-wise procedures in putting things together. "Do this, now do that". Maybe it's from being a computer programmer f ... read more
|
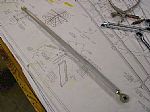 12/14/2010 - Put the F-665 Control Column Pushrod together
Pretty simple thing to do.
... read more
|
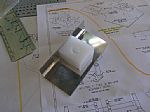 12/18/2010 - Time to install the trim control
I know that this doesn't necessarily fall under the category of "Electrical", but for me it does. In order to put on the control stick grips with the push-to-talk button in them, all this control stic ... read more
|
 1/1/2011 - Time to put in the ELT
I found this ... read more
|
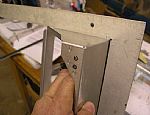 1/9/2011 - Time to cut the panel for the Dynon EFIS 100 mount tray
This is a well-built mount tray, but when I was laying it out on the panel next the GPS mounting brackets, it looked a little off to me. So I pulled out my trusty old framing square and sure enough, I ... read more
|
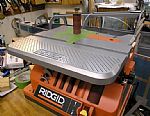 1/24/2011 - Now to cut the holes for the Airspeed Indicator and Altimeter
I love excuses to buy new tools. Ever since taking woodshop in Junior High School, I've always wanted one of these spindle sanders. It's a round cylinder that spins and goes up and down. Great for san ... read more
|
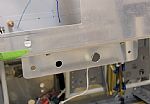 2/19/2011 - Put in the F-746 Engine Control Bracket
While I'm Waiting for my SL40 VHF Comm Transceiver and Garmin GTX-327 Digital Transponder, I decided to drill the holes in the engine control bracket. Since I'm going with a fixed pitch prop, I decide ... read more
|
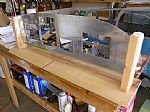 2/21/2011 - Cut the hole for the Dynon EMS-D120 Engine Monitoring System
I did the same thing here with the D120 as I did with Dynon EFIS D-100. I used the mounting as a guide to draw the hole in the panel and then cut it out with my jigsaw. As I mentioned before the Dynon ... read more
|
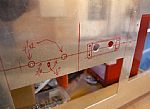 2/28/2011 - Time to cut the holes for the Intercom and the ELT remote control
There a lot of options in the instructions for mounting the Intercom. The one I chose was the one where you cut holes big enough for the nuts on the squelch and volume control to go through the panel. ... read more
|
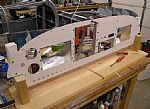 3/7/2011 - Time to hang some avionics!
I've been looking forward to this part for a long time. After all the lamenting over what to put in the panel, this part is really fun, pulling all the parts together into a functioning panel. Here, I ... read more
|
 4/21/2011 - Bought Van's Intercom Wiring Harness
The first time I saw this harness in the shopping cart on Van's website, I thought "no way", it costs more than the friggin' intercom! So I decided to wire the intercom myself. After looking for the r ... read more
|