RV-9A: Electrical - 3/7/2011
Home Previous Entry Next Entry Back |
Share on:

|
|
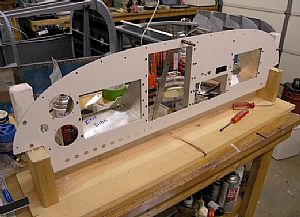 Time to hang some avionics! Time to hang some avionics!
I've been looking forward to this part for a long time. After all the lamenting over what to put in the panel, this part is really fun, pulling all the parts together into a functioning panel. Here, I'm putting all the mounting brackets on using Allen screws and nylon locknuts. Also, you'll notice that altered the panel stand by cutting off the front supports on the panel mounts. The "slit" idea of holding the panel up for me didn't. After working on the panel while inside the slits, I noticed that the paint go all scratched up anyway. Dammit! So I had to strip the paint off and repaint the panel.
|
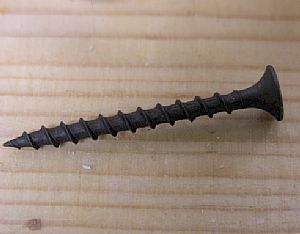 Mounting the panel to the vertical posts Mounting the panel to the vertical posts
I am thankful to my father, who was the best damn carpentar who ever lived on this earth. He taught me so many things. He had me raising new home walls and nailing sheetrock up as soon I as was old enough to pick up hammer. I miss him. This is a sheetrock screw. It's designed to gently pull sheetrock into place with it's tapered head. It works great for holding the panel to the wood post without messing up the paint.
|
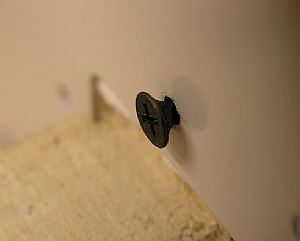 It's perfect panel holder... It's perfect panel holder...
|
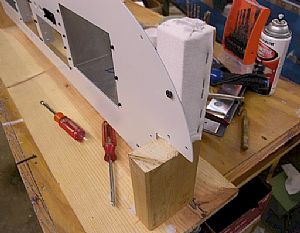 Here's my modification to the vertical post Here's my modification to the vertical post
When I found that my orginal paint job was messed up by the "slit" idea in these vertical posts, I grabbed my handsaw and aggressively cut the front post off, with angry explicitives with every thrust of the saw blade. Here's the new paint job on the panel with the sheetrock screws holding it in place.
|
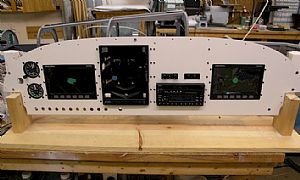 Tadah! Tadah!
This is so cool looking. The only missing componet is the Garmin GPS that will go into the Air Gizmo dock. TIme for some wiring!
|
Home Previous Entry Next Entry Back
|