RV-9A: Electrical - 9/26/2010
Home Previous Entry Next Entry Back |
Share on:

|
|
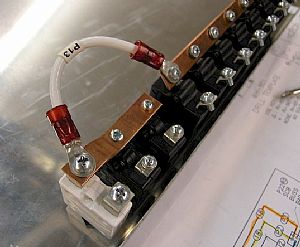 Hooked the 2 power buss bars together Hooked the 2 power buss bars together
This big wire provides the positive power between each buss bar in the switch and breaker series.
|
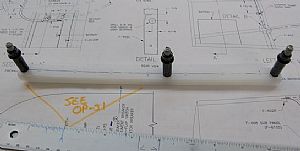 Drilled the holes in the UHMV bar Drilled the holes in the UHMV bar
There are 2 UHMV (white plastic) bars that come with the wiring harness kit. The thin one holds all the screws which act as terminals to provide the positive power to the flaps, radios, panel lights, etc. The thicker one provides protection between the positively charged heads of the screws and the subpanel, to which it is mounted. Here I've drilled the holes through the thin bar, but only partially into the thick bar. This will mark the thick bar so I know where to bore the holes in the thicker bar to allow for the screw heads, but not allowing them to make contact with the subpanel.
|
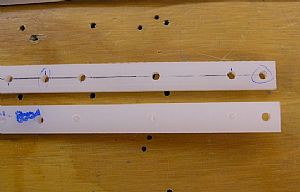 Ready to bore the screwhead holes Ready to bore the screwhead holes
You can see here (hopefully) where I have marked the partially drilled holes in the thicker plastic bar, which are now ready to be bored to a larger diameter hole to allow for the screw heads from the thin bar.
|
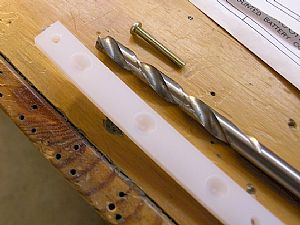 How boring... sorry... How boring... sorry...
Couldn't resist that one...
Here I used a 3/8" drill bit to bore the screw head holes a little bigger and deeper.
|
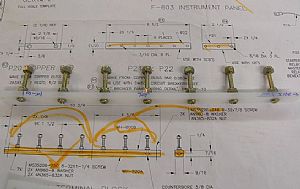 Mounted the screws to the thin bar Mounted the screws to the thin bar
These screw are used to connect the wires to the various parts in the RV that need power.
|
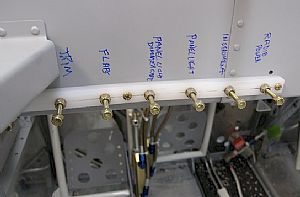 Mounted the terminal blocks to the subpanel Mounted the terminal blocks to the subpanel
Pretty darn slick and simple design by Van. Even I can understand this setup.
|
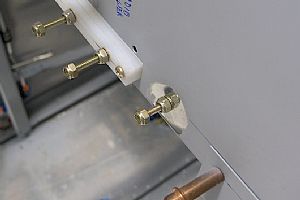 Installed the first ground Installed the first ground
Here I've removed the primer from both sides of the hole in the subpanel. I put a special washer with teeth inside it on both sides of the screw and tightened it in place. This makes for a solid ground.
|
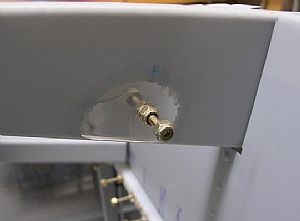 Installed the second ground Installed the second ground
Same thing here.
|
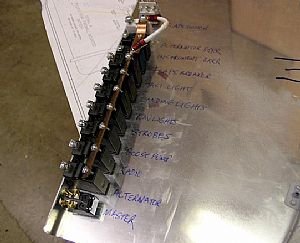 Marked everything Marked everything
I used a sharpie to label the terminal block I just installed, plus the back of the panel. CY & A!
|
Home Previous Entry Next Entry Back
|