RV-9A: Electrical - 2/28/2011
Home Previous Entry Next Entry Back |
Share on:

|
|
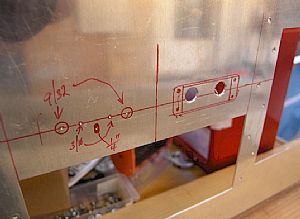
 Time to cut the holes for the Intercom and the ELT remote control Time to cut the holes for the Intercom and the ELT remote control
There a lot of options in the instructions for mounting the Intercom. The one I chose was the one where you cut holes big enough for the nuts on the squelch and volume control to go through the panel. I put the intercom on the left and the ELT remote on the right, above the radio and the transponder. Here I've used my hole punch to mark where I will drill holes in the panel for the intercom. I used my unibit to make two holes in the panel so I can make the cutout with my jigsaw for the ELT remote.
|
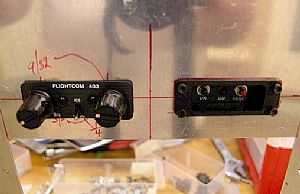
 Trial fit of the intercom and ELT remote Trial fit of the intercom and ELT remote
Right away I see that I'm going to need to create a shim spacer behind the panel for the intercom. The nuts on the squelch and volume control stick out a little too much, making the front decorative panel bend when mounted to the front of the intercom. The ELT remote fits great.
|
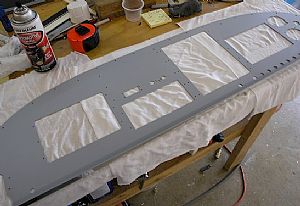
 Primed the back of the panel Primed the back of the panel
I've scratched the back of the panel pretty bad as I've been working on it, so I decided to put primer on it. It make it looks pretty cool too.
|
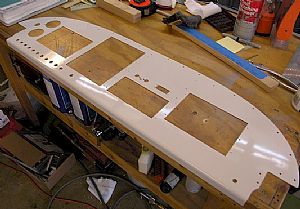
 Painted the front of the panel Painted the front of the panel
I lightly roughed up the front of the panel with a scotchbrite pad, trying to keep the grain of the scratches going parallel to the length of the panel. Then cleaned the panel off with laquer thinner to remove any dirt or grease. I used gloss white Rust-oleum automotive paint, and put two coats on, allowing a little over 2 hours between coats. I'm going to let it dry for 2 days before trying to mount my avionics.
|
Home Previous Entry Next Entry Back
|