RV-9A: Electrical - 1/9/2011
Home Previous Entry Next Entry Back |
Share on:

|
|
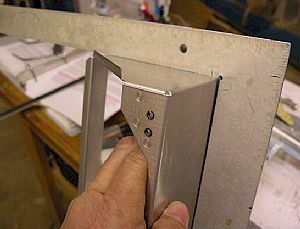 Time to cut the panel for the Dynon EFIS 100 mount tray Time to cut the panel for the Dynon EFIS 100 mount tray
This is a well-built mount tray, but when I was laying it out on the panel next the GPS mounting brackets, it looked a little off to me. So I pulled out my trusty old framing square and sure enough, It was off just a smidgen. Since this tray has little flex to it, it shouldn't be a problem to correct it's alignment on the panel.
|
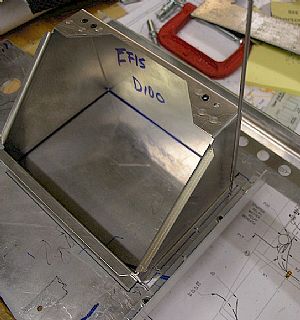 Now to drill some holes into the side flange Now to drill some holes into the side flange
I know that the GPS bracket is already at a perfect 90 degree angle to the bottom of panel, so I decided to just butt the EFIS mounting tray right up next to it. Then, after marking where the screw holes will go, I drilled the holes into the mount tray flange and also into the panel from the back of the panel, using a long #40 drill bit. Then I put clecos in on the front of the panel to hold the mounting tray in place. These #40 holes will get drilled out later to 7/64" for the 4-40 screws I will use.
|
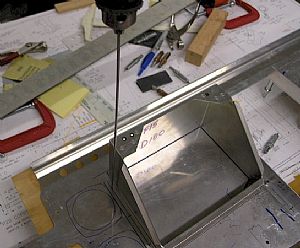 Now for the other side Now for the other side
Here's where I corrected the slight malformation of the mounting tray to make it square. Earlier, I had drawn a horizontal line with my sharpie on the back of the panel by putting my framing square next to the vertical GPS side mount. I used this line to pull the mount tray down into position to make it square with it's self, and then drilled the holes into the tray and panel with the same #40 drill bit. Then I clecoed everything together.
|
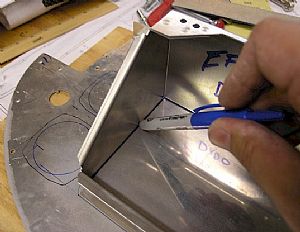 Marking the panel for cut Marking the panel for cut
Here's where I decided to use the KISS method (Keep It Simple Smitty). While the tray was clecoed into place, I used my fine line sharpie and traced the inside edges of the tray mount onto the back of the panel. AND..., what do you know... the lines I drew matched the dimensions in the instructions for the cutout exactly! Damn, I'm Smart(err - Lucky)!
|
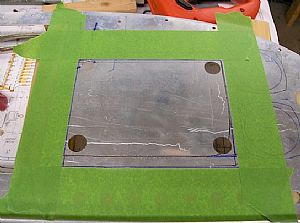 Now for the messy part Now for the messy part
The EFIS is a little different from the Gizmo GPS mount, in that the edges of the cutout on the panel show around the edges of the Gizmo mount. Not so on the EFIS. The front of the EFIS has a picture frame that covers the cutout on the panel. So, If I'm a little messy with the cutout, it don't matter, ya'll. So I drilled Unibit holes in each corner of the panel cutout area and started cutting away with my jigsaw with a metal cutting blade. After I made the cut, I cleaned it up a little with my Mill Bastard file (I love that name), and sanded the edges.
|
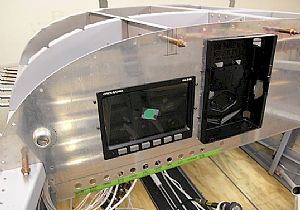 Ain't that purdy? Ain't that purdy?
I decided to put the panel back on the RV(temporarily) and mount the EFIS into it's tray(temporarily). Ya' know, like a kid at Christmas with a new toy. How many of us rode our new bikes on the sidewalk in our pajamas and bunny slippers because we just couldn't wait any longer? I'm really happy with this install. Now I'm waiting for my 2 1/4 inch altimeter to arrive from Van's and I will cut the holes for my airspeed indicator and altimeter.
|
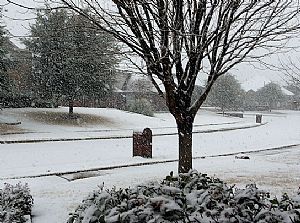 Oh yeah, one more thing Oh yeah, one more thing
It SNOWED today. Not bad for Texas!
|
 My kiddo likes it too... My kiddo likes it too...
|
Home Previous Entry Next Entry Back
|


