RV-9A: Electrical - Part 2 - 7/22/2012
Home Previous Entry Next Entry Back |
Share on:

|
|
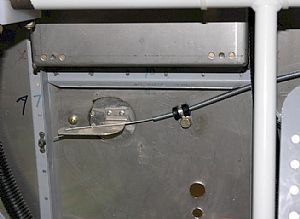 Hooked up the Heater Control Cable Hooked up the Heater Control Cable
I had to special order a #10 drill bit for my pneumatic angle drill from Aircraft Spruce to drill a hole in the engine wall aluminum angle support, so the control cable could go through it. Then I used a small pair of needle nose pliers to make the bends in the end of the control cable for the arm of the heater box flap.
|
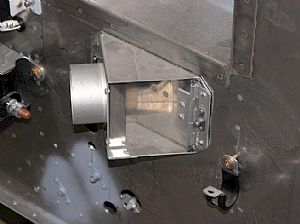 Here's the flip side Here's the flip side
I pushed the control cable all the way in and made that the heater box valve was fully closed.
|
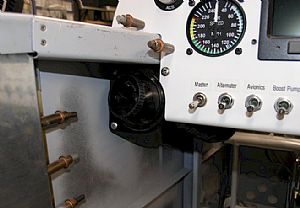 Time to install the air vents Time to install the air vents
I thought this would be a piece of cake, but NOOOOOO. Putting the nyloc nuts on one of the screws on these vents is almost impossible to reach. After some lengthy descriptive explicitives about the airplane's relationship to it's mother, I was able to get the nuts on.
|
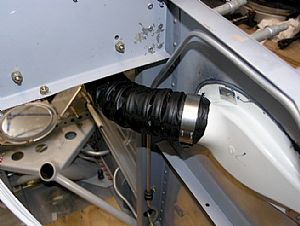 Put the vent hoses on Put the vent hoses on
Van's sent me enough black hose to do 3 RV's, which makes me a little nervous as to why so much?
|
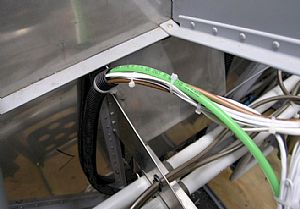 Pitot tube hose run time Pitot tube hose run time
After getting a quick view of another builders pitot line run on VansAirForce.net, I decided it was time to gitter' done. In last exciting episode, I hooked the static and pitot lines to the instruments using some neat quick connects recommended to me a by friend of mine. Here I've run the pitot tubing down one of the 2 black conduits on the firewall. I hope this is the last thing that needs to go inside these conduits because, "thar ain't no mo room".
|
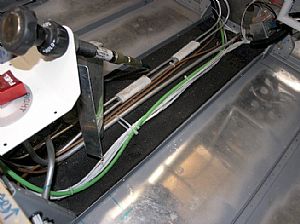 Here's the pitot tubing run through the floor console Here's the pitot tubing run through the floor console
It's beginning to look a little crowded down yonder.
|
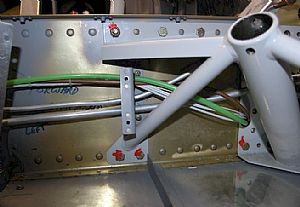 Making my way to the left wing Making my way to the left wing
I had a few more colorful metaphors to share with the aircraft at this point. The tubing does not like to twisted during it's run through passage holes.
|
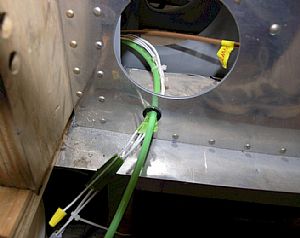 Done! Done!
I taped up the end of the tubing to keep the bugs out.
|
Home Previous Entry Next Entry Back
|