RV-9A: Electrical - Part 2 - 5/15/2012
Home Previous Entry Next Entry Back |
Share on:

|
|
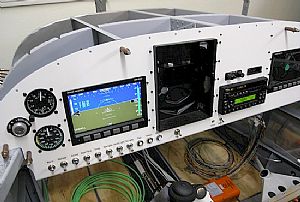 Fired up the D-100 Fired up the D-100
Hitting the "ON" switch is kind of like getting married, ya' don't know what's going to happen next. I hooked up the GTX 327 transponder to the Dynon EFIS D-100 according to the instructions, hooking the D-100 pin 13 to GTX 327 pin 19 and then making sure both units use the same avionics ground. Then for the EFIS to talk to the transponder, I had to go into the menu on the EFIS and set the encoder setting to Format 4. To my surprise the som-bitch worked (a famous quote from my father).
|
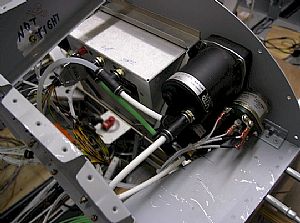 Here's the pitot/static stuff Here's the pitot/static stuff
Through the great advice of my good friend and RV driver Tom, I bought these quick connects and installed both the pitot and static lines to the EFIS, Airspeed and Altimeter.
|
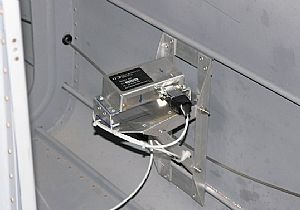 Installed the EFIS Magnometer Installed the EFIS Magnometer
This is my homemade magnometer mount. I had to use a lot gray matter to figure out the position of this puppy, making sure the magnometer was at the same angle as the EFIS in the panel, and to insure that the unit sat in line with the wings. I may have gotten too close to the baggage compartment though. If someone throws a headset back there it could mess with the magnometer. I'm sure as hell ain't going to move it now.
|
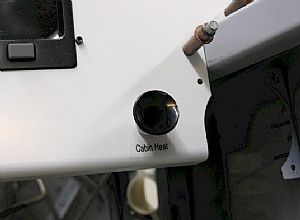 Now to work on the Heater Cable Now to work on the Heater Cable
I should have put this dude in first. It's getting a little crowded behind the panel now. I completely pulled the cable line out of the cable housing in order to get a measurement for where to cut the cable housing off at the vent cover. Then I put the cable line back inside the cable housing.
|
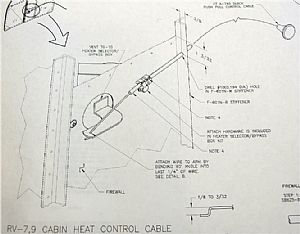 Here are the instructions for the heater cable Here are the instructions for the heater cable
The instructions say to drill a #10 hole in the firewall stiffener. A #10 drill bit is the only one I don't have for my pneumatic angle drill. So I ordered one from Aircraft Spruce (1/4-28 #10 12-05702 for $2.80). For some reason Avery's didn't have one.
|
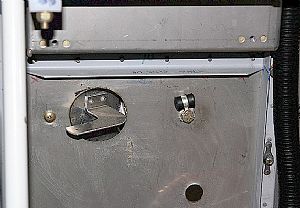 Here's where it goes Here's where it goes
|
Home Previous Entry Next Entry Back
|