RV-9A: Left Wing Prep - 3/13/2006
Home Previous Entry Next Entry Back |
Share on:

|
|
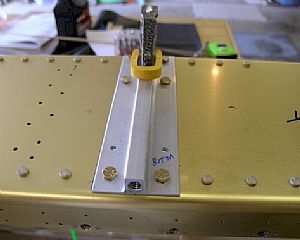 Bolted the Tie-down Bar to the Main Spar Bolted the Tie-down Bar to the Main Spar
I started with the pilot hole in the upper right corner of the bar and made my way around the other ends drilling the bolt holes from under the spar and temporarily putting a bolt to hold the bar. After the end bolt holes where drilled I clamped the tie-down bar down and drilled the nut-plate holes using the existing spar holes as a guide.
|
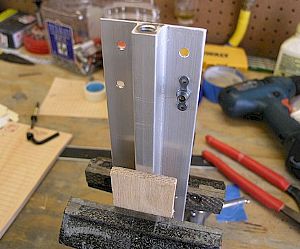 Drilled the holes for the nut plates Drilled the holes for the nut plates
I temporarily put a bolt into the nutplate hole from behind to hold the nutplate in place so I could drill the #40 holes for the flush rivets that hold the nutplate in place. After I drilled all the holes for the rivets, I flipped the tie-down bar over in the vise and countersinked the rivet holes with my Micro Stop Countersink. Then I riveted on the nutplates.
|
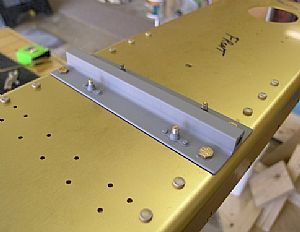 Bolted on te Tie-down Bar to the Main Spar Bolted on te Tie-down Bar to the Main Spar
Before attaching the tie-down bar, I put primer on it. I didn't know if I was supposed to, so I did it anyway. I put the 4 outer bolts on first and used my torque wrench to set the nut. Then I bolted the bellcrank brackets on the underside of the main spar into the nutplates. I once again used my torque wrench to set the bolts at the same setting for plastic lock nuts. I couldn't find what the torque wrench setting should be for bolting the bellcranks brackets into the nutplates should be in the instruction manual, so I assumed that it's the same as the bolts and nuts setting.
|
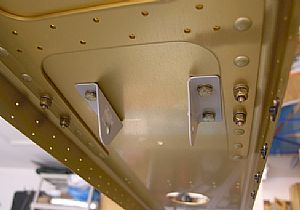 A shot of the bellcrank brackets in place A shot of the bellcrank brackets in place
UPDATE 11/26/2006: After riveting the top skins on, I noticed that there ain't no way in hell to get the bolt into these brackets with the skin riveted on. I emailed a friend of mine who has a completed RV-9A and he said that since these brackets are bolted into nutplates, they can be removed so the bolt can be put in for the bellcrank assembly. So I will worry about this later. I took a look at Dan Checkoway website and he recommends that you don't even put these brackets on until you start putting the bellcrank assembly together at later time.
|
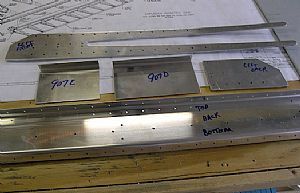 Started work on the left wing rear spar Started work on the left wing rear spar
It's so much fun trying to find parts in that PILE of parts for the wings. After much colorful language, I finally found all the parts and sanded the edges.
|
Home Previous Entry Next Entry Back
|