RV-9A: Horizontal Stabilizer - 8/28/2005
Home Previous Entry Next Entry Back |
Share on:

|
|
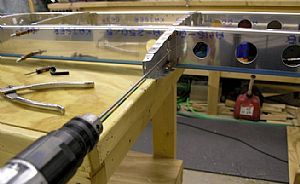 Enlarged the pre-punched 1/8 holes using a #30 drill bit Enlarged the pre-punched 1/8 holes using a #30 drill bit
I drilled out the spar/rib holes using a regular #30 drill bit until I got to the front ribs. Then I switched to a 12 inch #30 drill bit so I could drill a straight hole.
|
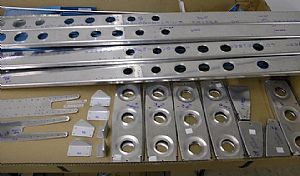 Sand, sand, sand, sand, sand, sand, sand...... Sand, sand, sand, sand, sand, sand, sand......
I read in the instruction manual where it said the sanding is the toughest and most time consuming part of the construction process. They weren't kidding. The outside edges weren't so bad because I could make a couple of passes over the Scotchbrite wheel and then smooth it out with some 400 grit sandpaper. But the holes were a different story, sanding these dudes took a really long time. I rounded off the edges with a tougher grit of sandpaper and then finished it off with the sponge sandpaper with a finer grit.
|
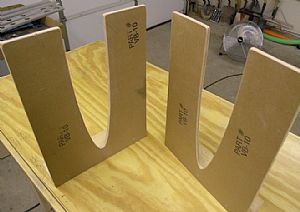 Cut out the jig cradle blocks provided with the kit Cut out the jig cradle blocks provided with the kit
I used my jigsaw to cut out the jigs, following the pre-drawn line on the 3/8" plywood. Then I mounted the jigs on some "2 bys" that were laying around the shop. Then I rounded off all the edges and sanded down the area where I made the cut to make sure the skins would slide easily into them.
|
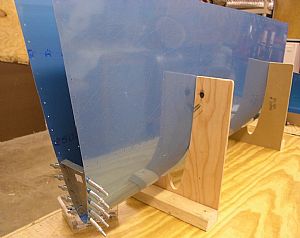 Starting clecoing in the front ribs Starting clecoing in the front ribs
The skin didn't seem to want to go into the jigs, so I lightly squeezed the trailing edge together and only went partially down into the jigs.
|
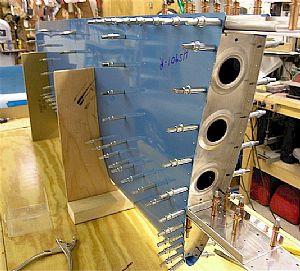 Finished clecoing in the ribs and spars Finished clecoing in the ribs and spars
The more parts I clecoed in, the more the skin dropped into the jigs, by itself. Then I ran out of clecos. Oops, no more piddees. I got on Aircraft Spruces website and ordered 400 more 3/32" clecos. That ought to get me through the rest of the of project. UPDATE: 4/17/2006I'm working on the left wing now and the 600 clecos ain't gonna be enough.,
|
Home Previous Entry Next Entry Back
|