RV-9A: Horizontal Stabilizer - 9/14/2005
Home Previous Entry Next Entry Back |
Share on:

|
|
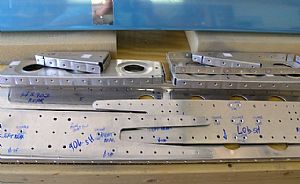 Dimpled and Countersinked the right HS ribs and spars Dimpled and Countersinked the right HS ribs and spars
After drilling out the #40 holes in the skin into the ribs and spars, I took everything apart, then started dimpling the ribs, making sure that I didn't dimple everything, as the instructions stated. I ordered 3/32 small diameter female dimple die to dimple the ribs. The standard female dimple die is too wide and bends the flange out when making a dimple in the ribs. Then I used my microstop countersink to countersink the holes in the spars and the spar doublers. What to countersink in the doublers is very confusing. I finally read on the plans where it mentioned that all doubler countersinks are "forward" except for the ones that are "aft" on the rear span as indicated on the plans.
|
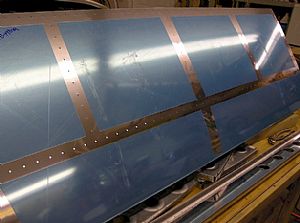 Removed the blue plastic film on the right Horizontal Stabilizer skin Removed the blue plastic film on the right Horizontal Stabilizer skin
I got an old soldering iron and rounded off the sharp edges of the tip. Then I used a metal ruler as a guide to melt the plastic film around the holes in the skin. Then it was easy to peel off the blue plastic that was over the holes.
|
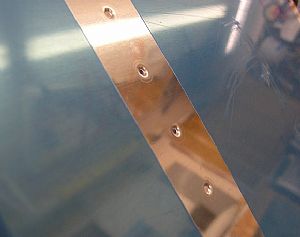 Started dimpling the right Horizontal Stabilizer skin Started dimpling the right Horizontal Stabilizer skin
I bought a "C" frame dimpler and experimented on one of the extra sheets of aluminum that come in a small bundle with the kit. I really didn't like the way the dimples turned out, making a slight dip in the aluminum sheet, which you could only see when holding the sheet up to a light. I talked with a RV builder friend of mine about this and he suggested that I use Pop-Rivet Dimplers to dimple the skins. I ordered the Pop-Rivet Dimplers and started using them. It's slow work, but the quality of the dimple is outstanding, passing the "light" test easily.
|
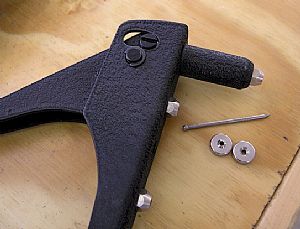 A shot of the Pop-Rivet Dimplers from Averys A shot of the Pop-Rivet Dimplers from Averys
The dimplers use a standard 6 penny finishing nail. I found that I could get about 6 dimples out of a single nail before having to get a new one.
|
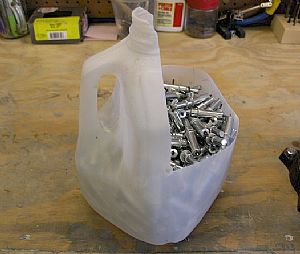 Recieved my order of 400 #40 clecos from Aircraft Spruce Recieved my order of 400 #40 clecos from Aircraft Spruce
I grabbed an old milk jug and made my own cleco container. Now I have around 600 #40 clecos for the rest of the project.
|
Home Previous Entry Next Entry Back
|