|
Home - RV-9A: Rudder
|
|
|
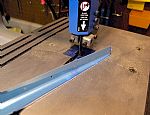 10/29/2005 - Started working on Rudder Stiffeners
I spent a lot of time reading the plans and looking at the drawing before I finally figured out how to cut these puppies. Van's has put small circular cuts in the stiffeners that are used as marks to ... read more
|
 10/30/2005 - Final drilled the stiffeners to the right rudder skin
Because of space issues, I have decided to do one side at a time. Here I final drilled the stiffeners into the skin and clecoed everything down to the work table. ... read more
|
 10/31/2005 - Finishing up the Left Rudder Skin
I placed the stiffeners on the left skin and final drilled them with a #40 drill bit right into the work bench and clecoed everything down. ... read more
|
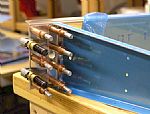 11/1/2005 - Started work on the Rudder Skeleton
Clecoed the bottom rib to the front spar and final drilled the holes. Also created a small 3 1/2 x 1 1/8 inch shim from a long piece in the kit that was already 1 1/8" inches wide. ... read more
|
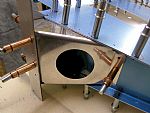 11/2/2005 - Trimmed and clecoed on rudder brace
The R-710 rudder brace has to have two sides trimmed off in order to fit on the bottom of the rudder. It has small predrilled holes in it used to "connect the dots" for the cutting lines. I cut the ex ... read more
|
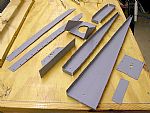 11/3/2005 - Primed the rudder inerds
Not near as much sanding as the Horizontal Stabilizer. I made sure to wear my mask and spray paint these puppies outside in the back yard. ... read more
|
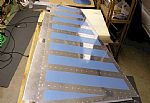 11/4/2005 - Riveted the rudder skins to the inner skeleton
Got all the rivets in with the 4 inch yoke on my Avery rivet squeezer and bought a new "no-hole" yoke to do the last ones in the top and bottom ribs. ... read more
|
 11/5/2005 - Countersinked the rudder trailing edge wedge
Couldn't sleep and got up early this morning. I decided to not to crank up the compressor. My neighbor said that he could hear the drill the other day. He wasn't complaining, just wanted to know how t ... read more
|
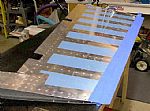 11/7/2005 - Ready to rivet the rudder trailing edge
Well, here it is. Make it or break it. I decided to go with Van's instructions all the way on this trailing edge construction, except for one thing. I used a large, heavy piece of steel angle to use a ... read more
|