RV-9A: Rudder - 11/3/2005
Home Previous Entry Next Entry Back |
Share on:

|
|
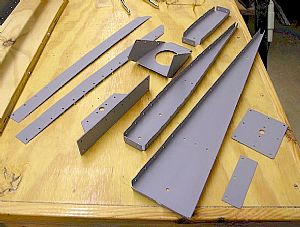 Primed the rudder inerds Primed the rudder inerds
Not near as much sanding as the Horizontal Stabilizer. I made sure to wear my mask and spray paint these puppies outside in the back yard.
|
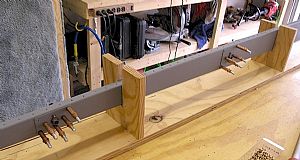 Clecoed and riveted reinforcement plates and nuts Clecoed and riveted reinforcement plates and nuts
I built this homemade spar holder to make things easier to rivet.
|
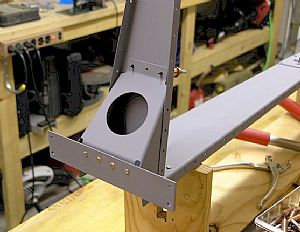 Riveted the bottom spar and associated parts to the rear spar Riveted the bottom spar and associated parts to the rear spar
This part went pretty easy until I got to the bottom rudder brace. After a little head scratchin' and a few "Dammit"s, I decided to add a couple of washers under the flat dimple die so it would be able to reach the rivet on the inside of the rudder brace without interfering with the rivet squeezer. Then I squeezed the two center rivets. I used pop rivets for the other 2 rivet holes.
|
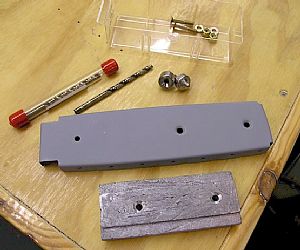 Got the counterweight ready for installation Got the counterweight ready for installation
I had heard too many homemade remedies for making these large dimples on other builders websites, so I decided to order a #10 drill bit and a set of #10 dimple dies to final drill the holes for the counterweight and the R-912 rib. I used my deburring tool to making the countersink hole in the lead counterweight. I started to put this thing together, but wondered how you would rivet the skin on with the lead weight in the way. So I postponed attaching the weight to the rib. About 5 lines down, the instructions call for attaching the counterweight after riveting on the counterbalance skin. I need to remember to read the whole section before starting anything.
|
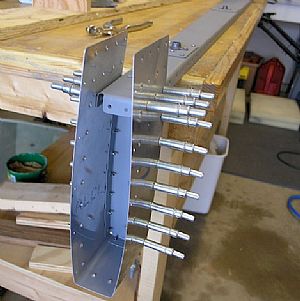 Clecoed the counterbalance skin on Clecoed the counterbalance skin on
I dreaded this part, since it was so hard to assemble this part before for final drilling. But turned out to be pretty easy. I started clecoing at the front end and then worked my way back on each side, one cleco at a time. I was able to use my rivet squeezer to rivet everything together, thanks to my new 4 inch yoke.
|
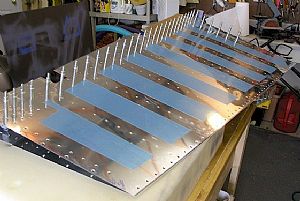 Clecoed on the outer skins Clecoed on the outer skins
This is looking good! Time to rivet the skins to the main spar.
|
Home Previous Entry Next Entry Back
|