RV-9A: Rudder - 10/31/2005
Home Previous Entry Next Entry Back |
Share on:

|
|
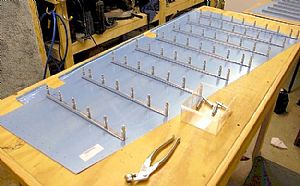 Finishing up the Left Rudder Skin Finishing up the Left Rudder Skin
I placed the stiffeners on the left skin and final drilled them with a #40 drill bit right into the work bench and clecoed everything down.
|
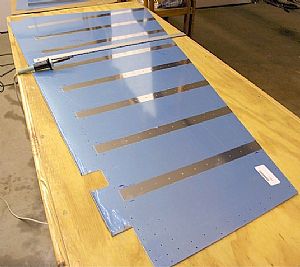 Removed the blue plastic film Removed the blue plastic film
I removed the blue plastic around the around the riveting area with my soldering iron and metal ruler, on both sides of the left rudder skin.
|
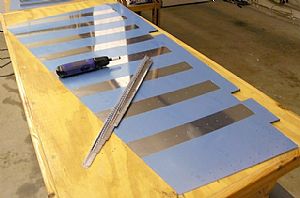 Deburred the left rudder skin and stiffener holes Deburred the left rudder skin and stiffener holes
I forgot to mention in my earlier logs about the "deburrer" that I made from a cheapy battery powered screw driver. I put a deburring bit in the end of the screw driver and duct taped it in place. The bit turns really slow as is just right for deburring aluminum.
|
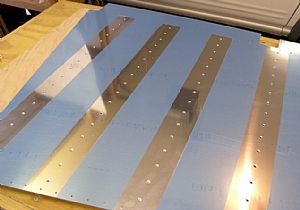 Dimpled the left rudder skin and the stiffeners Dimpled the left rudder skin and the stiffeners
Again, I used the Avery pop-rivet dimplers on the rudder skin. It's a slow process, but does a beautiful job.
|
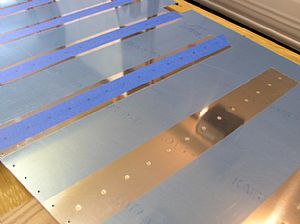 Back-riveted the stiffeners on Back-riveted the stiffeners on
For some reason, I forgot to take a picture of the back riveting process when attaching the stiffeners. Oh well, brain fart. Here I am removing the painters tape after riveting on all of the stiffeners. The painters tape was not such a great idea (a suggestion from another builder). The texture of the tape actually showed up on the rivet head (not on the skin). It's hardly noticable, but there none the less. Next time I'll break down and buy some riveters tape.
|
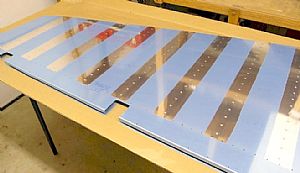 Both rudder skins are finished! Both rudder skins are finished!
Well, the stiffener part anyway.... Now on to the Rudder inner structure.
|
Home Previous Entry Next Entry Back
|