RV-9A: Flap Motor & Landing Gear Mounts - 1/10/2010
Home Previous Entry Next Entry Back |
Share on:

|
|
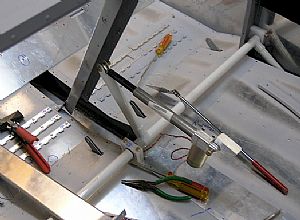 Bolted the flap motor to the actuator Bolted the flap motor to the actuator
It was tough to get all the washers and the glap motor in place. I had to open the actuator gap a little to get all the parts in place.
|
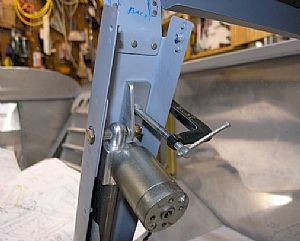 Drilled the holes into the F-766B bracket Drilled the holes into the F-766B bracket
I clamped the F-766B bracket to the channel and drilled it, using the holes in the channel as a guide.
|
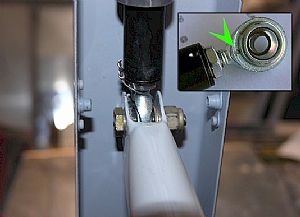 Tie wired the flap motor rod to the lower eye bolt Tie wired the flap motor rod to the lower eye bolt
Here's where I deviated from the plans (again). I tried to tie wire the flap motor rod to the bolt as stated in the instructions. But, when I played with moving the rod up and down by running the motor, the wire bent back and forth. I knew that after only a few sessions of applying the flaps, the wire would eventually break. So, in a previous building session, I drilled a small hole into the eye bolt (or whatever the hell this part is called). Then I tie wired the flap motor rod to the eye bolt. This solved the wire movement issue.
|
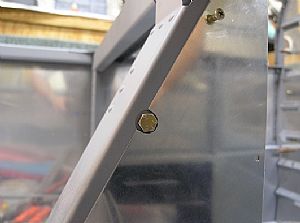
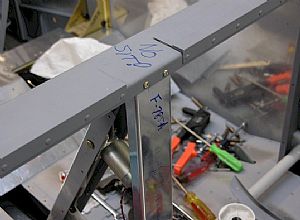 Started work on the F-785 backrest brace Started work on the F-785 backrest brace
I drilled the top two holes in the F-785 backrest brace using the predrilled holes. Then I installed the nutplates and screwed the F-785 backrest brace into place.
|
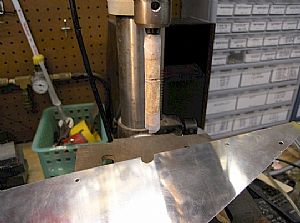 TIme to fit the F-760 Flap Actuator Covers TIme to fit the F-760 Flap Actuator Covers
The F-760 Flap Actuator Cover has to have a notch cut out to allow for the bolt that holds the flap motor in place. I decided to wrap some old sandpaper around a drill bit, taping it in place using scotch tape on top and bottom. Then I just moved the cover up and down on the drill bit until I got the depth of the cutout just right.
|
 It woiked! It woiked!

|
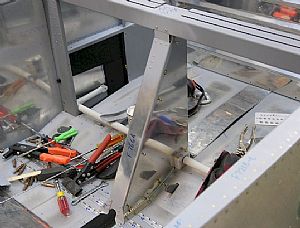 Put the F-760 Flap Actuator Covers on Put the F-760 Flap Actuator Covers on
Now it's time to drill the holes into the F-785 backrest brace (to install the nutplates), using the flap cover holes as a drill guide.
|
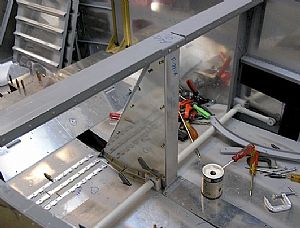 Done! Done!
I only screwed the side panels on partially, knowing that they will need to come off later for running wires.
|
Home Previous Entry Next Entry Back
|


