RV-9A: Right Wing Skins - 3/24/2007
Home Previous Entry Next Entry Back |
Share on:

|
|
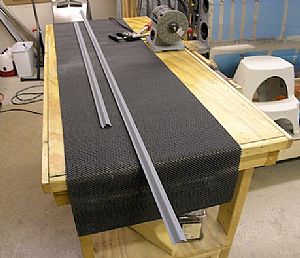 Deburred, dimpled, sanded and primed the J Stringers Deburred, dimpled, sanded and primed the J Stringers
I had to be real careful handling these dudes. They have one edge that is really sharp and took a lot of sanding to round off the edge. I couldn't use the Scotchbrite wheel on this edge because of the angle of it.
|
 Dimpled the ribs and rear spar on both sides Dimpled the ribs and rear spar on both sides
Whoa, talk about your dimpling session. This was a long one. My roll-around office chair came in real handy.
|
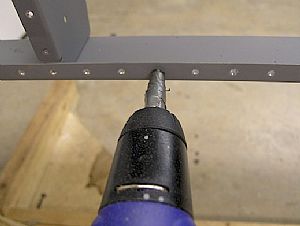 Countersink the rear spar Countersink the rear spar
I hand countersink the holes in the rear spar with my Home Depot cheapy 6 dollar electric screw driver with a countersink bit duct taped in.
|
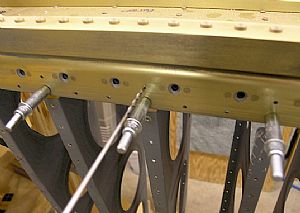 Final drilled the top main spar holes for the ribs Final drilled the top main spar holes for the ribs
There is no mention of these holes in the written instructions, only an indication of what rivet to use on the drawings. These holes are under the tank skin and are riveted from the main spar directly to the rib. I put a cleco in the bottom hole of the spar to line the rib up so I could final drill the top hole. Tomorrow I will countersink all the small spar holes.
|
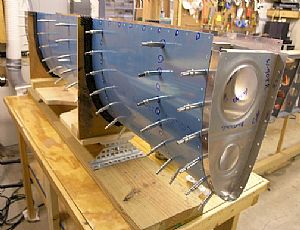 Removed the leading edge assembly Removed the leading edge assembly
I took the leading edge assembly off the main spar and stuck it in the tilting tank jig. This allows me to get to the main spar holes that need to be countersunk. After I finish countersinking the holes in the main spar, I will take the leading edge assembly apart and start preparing it for final riveting.
|
Home Previous Entry Next Entry Back
|


