RV-9A: Right Wing Skins - 3/27/2007
Home Previous Entry Next Entry Back |
Share on:

|
|
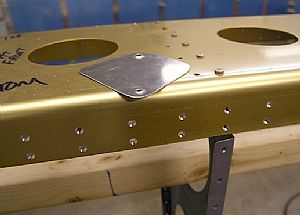 Countersunk the main spar Countersunk the main spar
I countersunk all of the remaining holes in the main spar. This took a while because I had to let my (piece of crap) non-oiled compressor cool off between countersinking sessions. When I build my next RV, I'm going to buy an oiled 60 gallon compressor and put this one out in the hangar for airing up tires. As I went along, I checked the depth of my holes with a piece of dimpled scrap sheet metal.
|
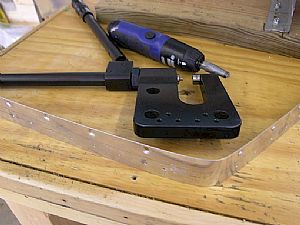 Dimpled the splice strip Dimpled the splice strip
For the large dimples, I used my "aligator" hand squeezers from ATS to make a nice dimple in the splice strip. These squeezers are so strong that they prevent craters from forming around these larger dimples.
|
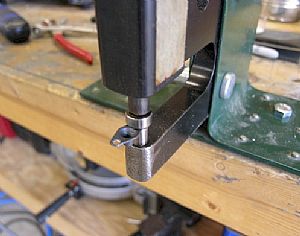 Dimpled the nutplates for the splice strip Dimpled the nutplates for the splice strip
I used my female dimple die with the small outside radius to put a dimple in each end of the nutplates.
|
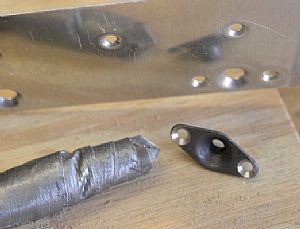 Countersunk the nutplate dimples Countersunk the nutplate dimples
I used my cheapy electric screwdriver with a countersink bit to put a countersink into the dimple from the previous picture. Then I checked the fit on the splice strip.
|
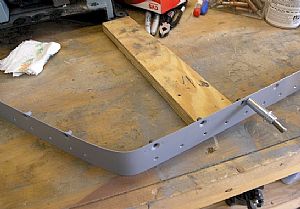 Riveted on the nutplates to the splice strip Riveted on the nutplates to the splice strip
I put a small piece of wood between the splice strip and my bench sander base to prevent the strip from scooting around while I was riveting the nutplates on.
|
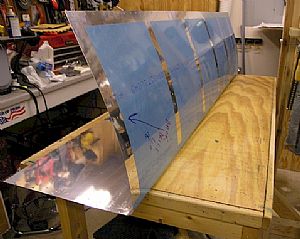 Removed the blue plastic film from the leading edge skin Removed the blue plastic film from the leading edge skin
Time for the old soldering iron/ruler routine.
|
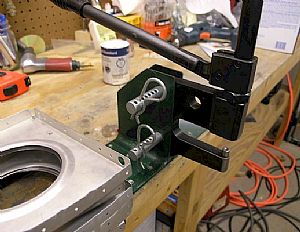 Getting ready to dimple the Leading Edge Ribs Getting ready to dimple the Leading Edge Ribs
I like to use my ATS hand squeezer for this part. ATS had a metal stand that you can buy that allows you mount the hand squeezer to a work bench. I decided to make my own out of some metal flower bed liner. Works pretty good. I'm also using the special female dimple die with the small outside radius for dimpling the ribs. This small radius prevents the dimple die from bending the flange of the rib during the dimpling process. I found the large metal rods and carter keys at Lowes in their special screws and bolts section.
|
Home Previous Entry Next Entry Back
|