RV-9A: Electrical - Part 2 - 6/26/2011
Home Previous Entry Next Entry Back |
Share on:

|
|
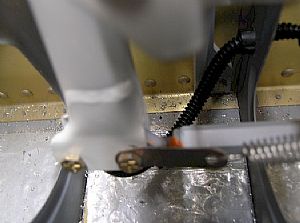 Now to protect the wire from chafing Now to protect the wire from chafing
The instructions say to use some rubber tubing to protect the wire from being chafed as the stick moves around. I found this small diameter flexible conduit at an electronics outlet. It seems to allow more flexibility than the clear rubber tubing that I bought.
|
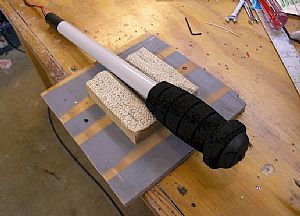 Now for the co-pilot control stick Now for the co-pilot control stick
Here, I've installed the push-to-talk switch. Sorry, no pictures. I was totally preoccupied with the tiny, itty-bitty wires and the tiny, itty-bitty points to where you solder the wires on to the tiny, itty-bitty switch.
|
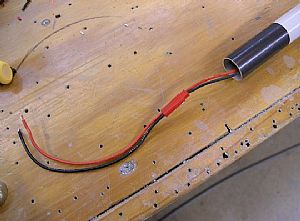 Installed a small disconnect Installed a small disconnect
The instructions suggest that if you want to have a push-to-talk switch on this stick, you need have a way to disconnect the wire inside. As I mentioned before, I found this quick-release connector at a RC model airplane store. Previously I had gone to every electronics store in town and couldn't find any connectors that were small enough to fit inside the control stick pipe.
|
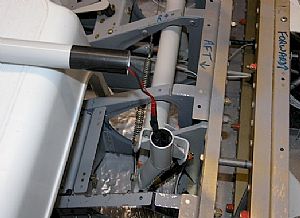 Made the connection Made the connection
This was a little tough, trying to decide how long to make the wires and the flex conduit to where it could move up and down for connecting and disconnecting from the control stick, but also allowin for the movement of stick while flying. I also put some shrink wrap and the end of the connector and onto the flex conduit to finish the connector off.
|
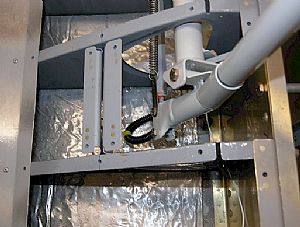 A shot of the co-pilot stick in place A shot of the co-pilot stick in place
The flex conduit goes all the way inside the stick receptacle, to prevent chafing.
|
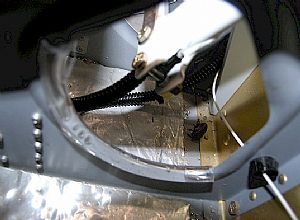 A little added protection A little added protection
The fact that the flex conduit is a little long to allow for disconnecting the co-pilot stick brings the conduit a little too close to the lightning hole in the floor rib. So split a piece of the 3/8" rubber tubing down the middle and put it over the edge of the lightning hole with some Automotive Goop to glue it in place.
|
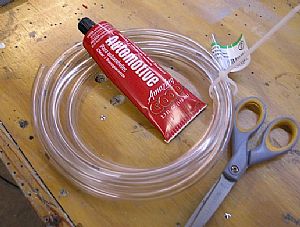 Here's the Goop Here's the Goop
|
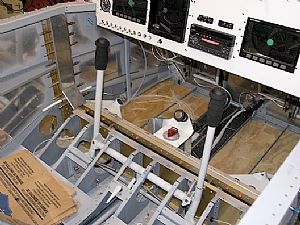 Both sticks are in! Both sticks are in!
|
Home Previous Entry Next Entry Back
|