RV-9A: Front Deck/Firewall - 4/22/2010
Home Previous Entry Next Entry Back |
Share on:

|
|
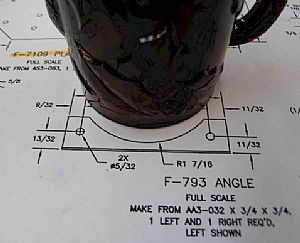 Time to do the circular cutout on the F-793 Vent attach angle Time to do the circular cutout on the F-793 Vent attach angle
I made the F-793 angles yesterday but forgot to take pictures of them. Today I'm putting the cutout in them so they can fit snug up to the SV-1 Inlet Vent. I find making radius cuts easy, because I cheat. I grabbed a wide array of cups from the kitchen and found one that pretty much matches the drawing and then traced the edge onto the F-793 angle.
|
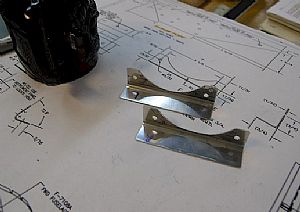 Thar' they be! Thar' they be!
I found out later that even if you get the cutout just right, as in the drawing, you'll still have to go back and adjust the cutout to make the SV-2 vent adapter fit just right.
|
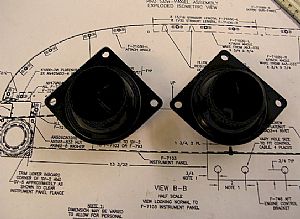 Trimmed the SV-5 Vent Outlets Trimmed the SV-5 Vent Outlets
The drawing is practically no help here. In fact, I almost cut off too much. I left uncut what I thought was too much and it turned out to be just right. Phewww! If I had made the trim any farther in, the SV-2 Vent Adapter wouldn't fit correctly and there would a large open slit where the SV-5 meets up with the SV-2 Vent Adapter. The scotchbrite wheel is an excellent trimmer for this type or work.
|
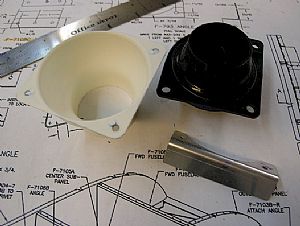 Next, trimming the SV-2 Vent Adapter Next, trimming the SV-2 Vent Adapter
The adapter flange is much bigger than the flange on the SV-5 Vent Outlet. So I trimmed the vent adapter to fit the Vent outlet. That way it won't be visible in the final install. That's when I discovered that I almost trimmed the vent outlet too much in the previous picture.
|
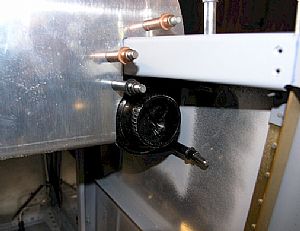 Here we go... Making it fit Here we go... Making it fit
Not bad. I had to trim the face of the SV-5 Vent Outlet just a tad to get a fit snug up against the panel flange. I also had to trim the F-793 attach angle cutout a bit. Now I'm going to take a fine point sharpie and mark the rivet holes on to the F-793 attach angle flange from the existing holes in the outer fuselage skin. (I always wondered what the hell those holes were for!)
|
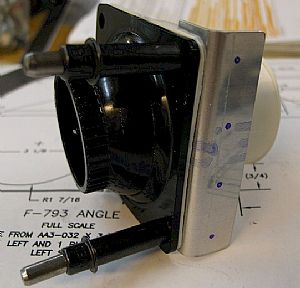 Wow! Perfect placement of the angle for the fuselage rivets Wow! Perfect placement of the angle for the fuselage rivets
I am still always amazed at the preciseness of Van's parts and how they fit together. Tomorrow I will remove the attach angle from this assembly and drill one of the holes, and then cleco it back on the fuselage to drill the rest, using the fuselage skin as a drilling guide.
|
Home Previous Entry Next Entry Back
|