RV-9A: Front Deck/Firewall - 4/21/2010
Home Previous Entry Next Entry Back |
Share on:

|
|
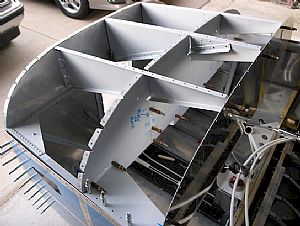 Time to start the cabin vent system Time to start the cabin vent system
I clecoed all the parts together, but will not rivet them in place yet. I will need to take all this out to put the rudder pedals in first. The panel will need to be where it goes so I can place the vent openings and the associated mounting bracket that gets riveted to the side fuselage skin.
|
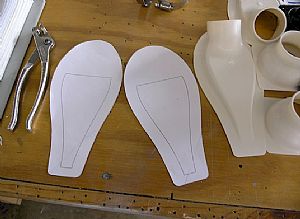 Figuring out where the side vents go Figuring out where the side vents go
The vent system comes with a sheet of paper with the drawings on it to help place the side vents on the fuselage skin. I made a copy of it and cut these patterns out.
|
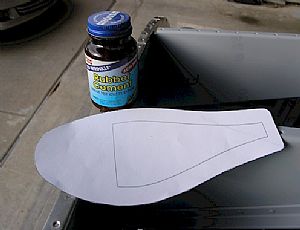 Now to place the patterns Now to place the patterns
I swiped some of my wifes scrapbooking rubber cement to hold the patterns in place. This stuff is great for temporarily placing small parts while you are reaching for your drill. After your finished, it rubs off easily, leaving no residue.
|
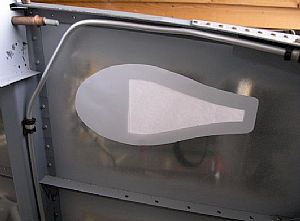 Time to 'stick it' Time to 'stick it'
The rubber cement allows you slide things around a little to get the pattern in the right position. I used the inner lines drawn on the pattern from the outside of the fuselage to place the pattern where it goes.
|
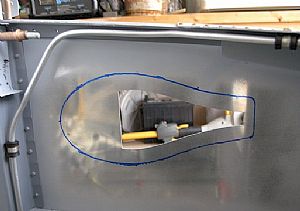 Tracing time Tracing time
I used my sharpie to trace a line around the pattern. Now it will be easy to place the vent brackets on the fuselage skin.
|
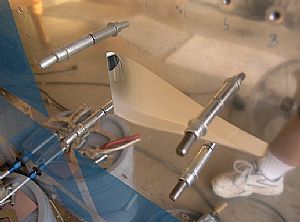 Oh my gawd! He drilled holes in the fuselage! Oh my gawd! He drilled holes in the fuselage!
Yep, I did. The instructions suggest that you do this, although many builders didn't. It's intended to provide support and strength to these light plastic vents. I have a different reason. I don't want to have to baby-sit the vent while the proseal dries, watching it slowly slide down the fuselage. I will proseal it, pop-rivet it and then go drink a beer. Job done!
|
Home Previous Entry Next Entry Back
|