RV-9A: Rod's and ends - 1/9/2008
Home Previous Entry Next Entry Back |
Share on:

|
|
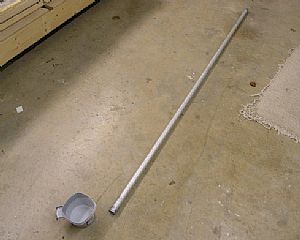
 Time for the Inner Primer Time for the Inner Primer
Oooh, sounds like New Age stuff. "I am one with the Primer!". Anyway.... All the pushrods have to be primed inside and out. I duct taped one end of the larger pushrods and poured in almost a quart of primer into the other using a small funnel.
|
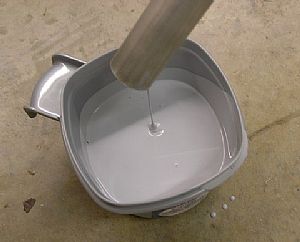
 Time to slosh it around inside the pushrod Time to slosh it around inside the pushrod
At first, I tried slowly rolling the pipe on the garage floor, but found that the primer didn't quiet spread as good as I wanted when I removed the tape from one end. So I put the tape back on and then picked up the pushrod and starting lowering and raising each end while turning it in my hand. I looked like an old fat Ninja warrior remembering his glory days with a battle staff. This worked pretty good. I used a can of Marhyde Self Etching primer that I got at English Color and Supply.
|
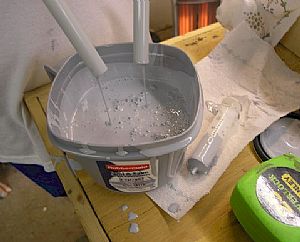
 Time to dump the primer out Time to dump the primer out
I found this Rubbermaid resealable paint container at Lowes (lumberyard and aircraft supply) and poured the contents of the pushrod into it. It took quiet a while for the primer to ssssllllloooooooowwwwwwwlllllyyyyy ooze out.
|
 Time for the small pushrods Time for the small pushrods
I put duct tape on one end on these pushrods. Dangit! My funnel won't fit these small holes. I still had some 20cc syringes left over from my fuel tank sealing trauma, so I sucked up the primer into a syringe and squirted it into the small pushrod until it filled up. Then I dumped out the primer just like the bigger pushrods.
|
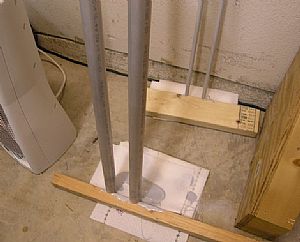 Finito!! Finito!!
Now to let these puppies slowly drain and dry over night. I laid down several layers of paper towels and stood the pushrods on the edge a piece of wood, allowing the excess to freely flow out onto the paper towels. My son and I had fun getting paint all over everything and each other.
|
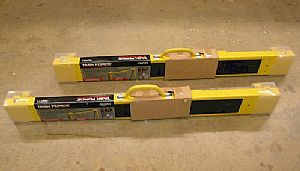 Thinking about the future Thinking about the future
My fuselage will be here in a few weeks and I knew I would need saw horses to built it on. But I have so much crap in the garage now, I'm beginning to feel claustaphobic. I went back to Lowes (lumberyard and aircraft supply) and found these heavy duty saw horses that hold up to 1,200 pounds each. They fold up and are made from heavy steel and weigh 19 pounds each.
|
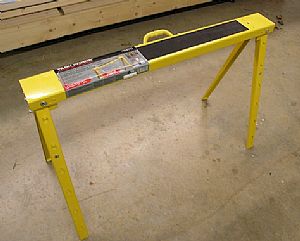 Very cool! Very cool!
The legs are height adjustable and the top has a rubber cushion on it. You'll notice that the product label is still on top of the saw horse. Some dumb-ass at the factory, in his infinite wisdom decided to glue this large label onto the top of the saw horse. It will have to stay. I can't get the label off without ripping up the rubber top!

|
Home Previous Entry Next Entry Back
|


