RV-9A: Flaps - 11/13/2007
Home Previous Entry Next Entry Back |
Share on:

|
|
 Started dimpling the other flap Started dimpling the other flap
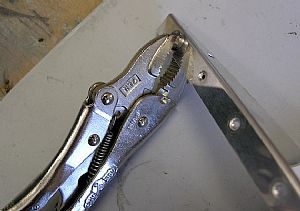
As I mentioned before, the majority of these holes in the flap ribs had to dimpled with the vise-grip dimplers. To get a really good dimple, I had to set the vise-grips to the point of almost not closing. Anything less tight made a dip or crater in the rib around the rivet hole.
|
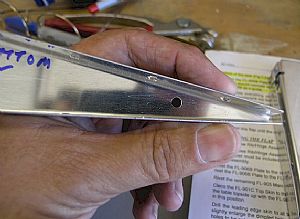 Fixing the end of rib after the vise-grip dimpling Fixing the end of rib after the vise-grip dimpling
The vise-grip dimpler doesn't really fit very good in the gap for the last rivet hole in the flaps ribs, and bends the flange out a little bit. This is easily fixed by squeezing the flange together between the old fingers. Please pardon the old fart fingers. Wrinkles are beautiful!!
|
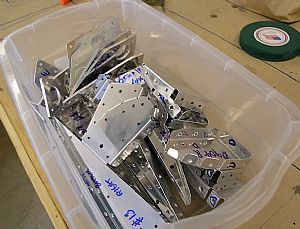 Done! Both flaps are dimpled and ready for priming Done! Both flaps are dimpled and ready for priming
Datsa' lotta' parts!
|
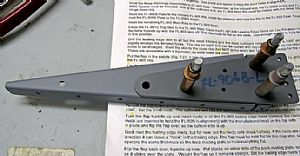 Preparing the end ribs for the nutplate Preparing the end ribs for the nutplate
The temptation here is to go ahead and put the nutplate on, BUT if you read ahead in the plans, this is not the time for that, BUT you have to prepare the end rib and F-906B plate for the eventual riveting of the nutplate later in the assembly process.
|
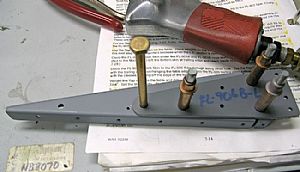 Lining up the nutplate for drilling Lining up the nutplate for drilling
I borrowed a quarter inch bolt from the kit to temporarily hold the nutplate in place for the final drilling into the rib and F-906B plate.
|
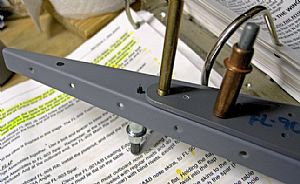 Drilled the holes for the nutplate Drilled the holes for the nutplate
After drilling the holes for the nutplate, I dimpled the hole in the rib and countersunk the hole in the F-906B plate.
|
 Primed all the parts on both flaps Primed all the parts on both flaps
As usual, I only primed the skins where the skin meets the ribs. Time for assembly!!
|
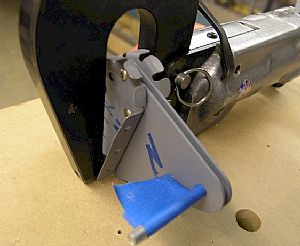 Riveted the hinge assemblies together Riveted the hinge assemblies together
This was a real head scratcher, trying to figure how to the pneumatic squeezer over the two outer rib flanges to get to the rivets. My solution was to move the 4 inch yoke over the end of the ribs where the flanges were smallest and set all the rivets from that end.
|
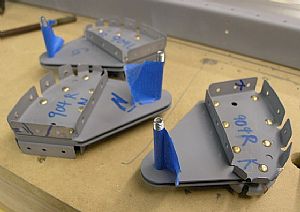 Done! Done!
This was very time consuming. The majority of the time spent just trying to figure how to set these rivets.
|
 Cleced the hinge assemblies to the main spar Cleced the hinge assemblies to the main spar
Tomorrow I will rivet these guys on.
|
Home Previous Entry Next Entry Back
|


