RV-9A: Flaps - 10/25/2007
Home Previous Entry Next Entry Back |
Share on:

|
|
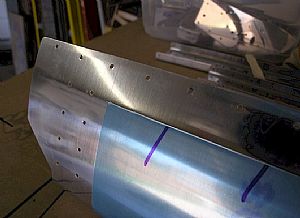 Rolled the edges of the leading edge flap skins Rolled the edges of the leading edge flap skins
I didn't do this on the elevators and regretted it. They look OK though, with only a few places where the edge kicked up a bit when riveted down. I'm sure the paint will hide most of the gaps.
|
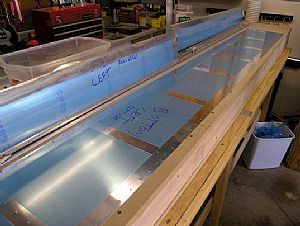 Started deburring everything Started deburring everything
I think they should call this part "de-boring". It really takes a lot of time.
|
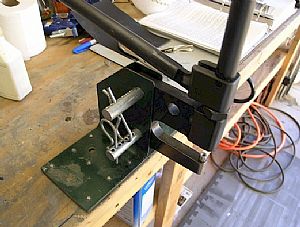 Time for Dimplin'! Time for Dimplin'!
I built this homemade hand squeezer holder out of that green metal garden edging to free up a hand while dimpling parts. This heavy duty hand squeezer comes from ATS aircraft tools. It comes in handy when you really need to put a hard "squeeze" on a dimple or rivet. It also did a great job of dimpling the large screw holes in the fuel tanks. No craters around the dimples.
|
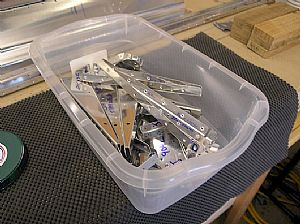 One set of parts dimpled One set of parts dimpled
I had to my vise grips dimplers on most of the holes in the flap ribs.
|
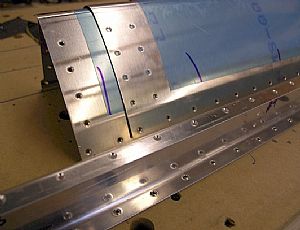 Finished dimpling and countersinking the left flap parts Finished dimpling and countersinking the left flap parts
You'll notice here that I countersinked one flange of the flap spar and dimpled the other. As I mentioned in a previous log item, one side of this spar has a perfect 90 degree flange, which I dimpled. The other flange has more of an angle bend which prevented my from dimpling it without distorting the spar. The instructions say to countersink both sides, but I opted to do what I did. I'm not suggesting that anyone else do this. This is my experiment.
|
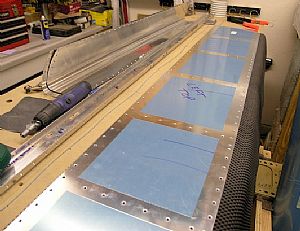 Done! Done!
I will now go on to the right flap parts.
|
Home Previous Entry Next Entry Back
|