RV-9A: Right Wing Prep - 12/13/2006
Home Previous Entry Next Entry Back |
Share on:

|
|
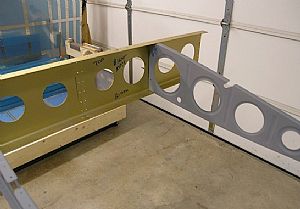 Time to start riveting the ribs to the main spar Time to start riveting the ribs to the main spar
I numbered the ribs, 1 thru 15, with the #1 rib being the first one at the inboard end of the main spar. I removed the end outboard rib (#15) since it doesnít get riveted on yet. To get enough room to get into position to rivet the #14 rib, I removed the #13 rib. The inboard (heavy) part of the main spar is resting on the work bench, held in place with some 2x4 blocks and some rubber matting.
|
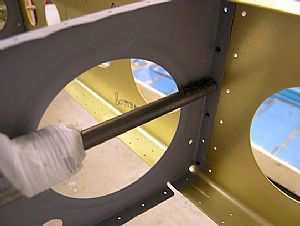 Getting set up for the riveting session Getting set up for the riveting session
I used a 7.5 inch Rivet Shank that I got from Averys to put the rivet gun far back enough to where I wouldn't have to push the rib too far out the way to get the rivet in. I put medical tape around the spring to prevent scratching off the primer on the rib. I bumped up the pressure to 65 lbs for this riveting session. I have found that the longer the shank, the greater the pressure needed.
|
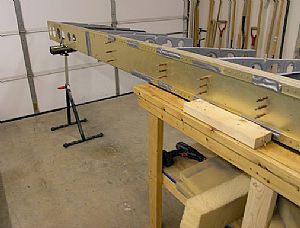 Starting working my way down the line Starting working my way down the line
This was a little spooky but worked quite well. After I riveted the #14 rib, I removed the #12 rib out of my way and riveted the #13 rib. As I got closer to the work bench, I put my table saw roller support under the outboard end of the spar and bungee corded it to the spar to make it didnít slip off.
|
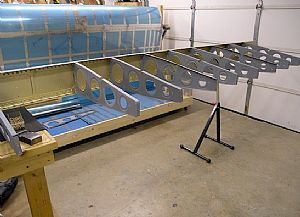 So far so good So far so good
Hereís another shot of whole process. Iím riveting in one rib at a time, working from the outboard end towards the inboard end. This is a heck of a lot easier than what I came up with on the left wing.
|
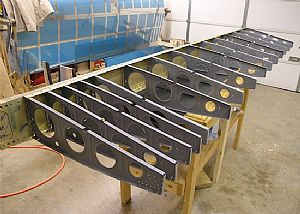 Hereís the finished product! Hereís the finished product!
When I got the #6 rib in place, I moved the hole assembly back over to rest somewhat centered on the bench. This left the wing walk ribs (#1-5) easily accessible for riveting. I removed ribs 1-4 and riveted #5 in place, then started working my way back to the inboard end, putting the ribs in one at a time.
|
Home Previous Entry Next Entry Back
|