RV-9A: Left Wing Prep - 4/11/2006
Home Previous Entry Next Entry Back |
Share on:

|
|
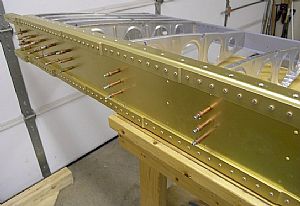 Final drilled the spars and ribs Final drilled the spars and ribs
It's really nice to finally get to some real construction after the sanding routine. Here I final drilled all of the holes where the ribs attach to the front and rear spars.
|
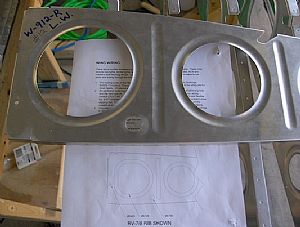 Drilled all the holes for the conduit Drilled all the holes for the conduit
From reading the emails from the various groups, here is where most builders freak out, as did I. As not mentioned in the plans, there is an FAQ page on Van's website that details the options for running wires in the wings. After reading all about my options, I opted for the 3/4 inch hole in the lower front part of each rib. I used my Unibit to drill all of these holes. The corrigated plastic conduit that will go through these holes is a little over 12 bucks for a fifty foot roll. I started to order some, but the shopping cart item description on Vans parts ordering system stated that this conduit comes in the wiring kit for the aircraft. I'm not sure when the conduit should go in.
|
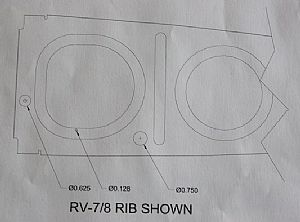 Here's a shot of the FAQ wing wiring document Here's a shot of the FAQ wing wiring document
There are 3 options. You can use the existing (small) hole in the front of the rib, or you can drill a small hole in the edge of the front lightning hole and use some type of tie device to hold a group of unprotected wires in place, or you can drill a 3/4 inch hole for the plastic conduit that Van's sells.
|
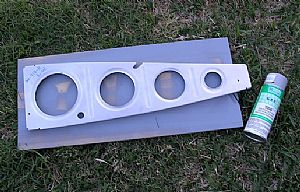 Prime time! Prime time!
I cleaned off the ribs with some lacquer thinner and use the Sherwin Williams self-etching primer and put a light coat over the hole rib. I know that I only half to paint where metal meets metal, but I still prefer to paint the whole rib.
|
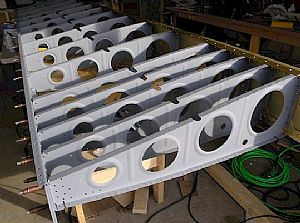 Put it all back together Put it all back together
That just cool looking. Time for the riveting session.
|
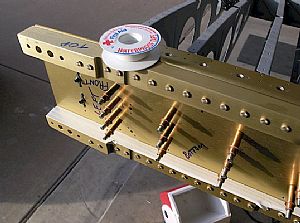 Riveting prep work Riveting prep work
The instructions say to put tape over the edges of the reinforcement bars on the main spar to prevent damage made by the bucking bar during riveting. I know that paper tape tends to tear up easily, so I decided to use cloth medical tape, which should be a little tougher.
|
Home Previous Entry Next Entry Back
|