RV-9A: Right Elevator - 12/29/2005
Home Previous Entry Next Entry Back |
Share on:

|
|
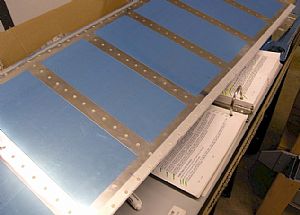
 Getting ready for riveting the Right Elevator trailing edge Getting ready for riveting the Right Elevator trailing edge
I placed rivets in the holes on the top of the right elevator trailing edge and tape them down.
|
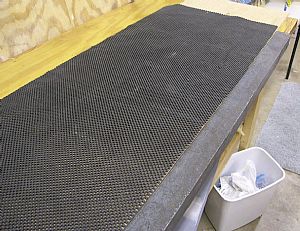
 Getting the table ready for the riveting session Getting the table ready for the riveting session
I put my steel angle on the edge of the work bench and held it in place with a couple of nails driven into the side of the work bench and bent them over the steel angle. I layed small sheet of 1/4 inch plywood on top of the work bench to make the elevator lay flat on the plywood and the steel angle while riveting. I also put a sheet of the tool box rubber stuff on top of the plywood to keep the elevator from moving while riveting the edge.
|
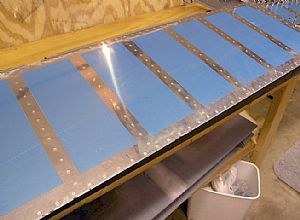
 Riveted the trailing edge Riveted the trailing edge
I flipped the elevator on to its back and started back riveting every 5th rivet then went back and did one rivet between of the 5th rivets. I kept jumping around back-riveting until I got all of the rivets done. I only partially back-riveted each rivet as indicated by the instructions. Then I flipped the elevator over and finished setting the rivets with the mushroom head riveter.
|
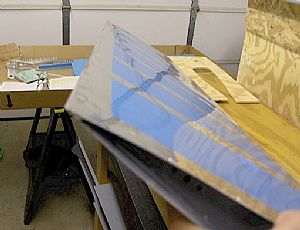
 The not so straight edge The not so straight edge
Here's the final product. For some reason, I have a 1/16 inch dip along the trailing edge. The instructions say anything greater than 0.1 of and inch is unacceptable. So this is "acceptable" but still ticks me off, since the rudder came out perfect. I think this must have happened when I drilled the holes into the aluminum angle and the middle bottom skin must have pooched out farther than the top skin.
|
Home Previous Entry Next Entry Back
|