RV-9A: Electrical - 12/5/2010
Home Previous Entry Next Entry Back |
Share on:

|
|
 Backtracking on stuff left undone Backtracking on stuff left undone
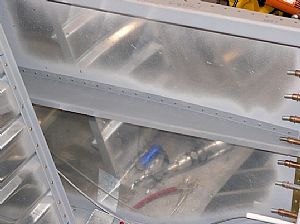
Here's where things get a little unorganized for me. I really like the concept of step-wise procedures in putting things together. "Do this, now do that". Maybe it's from being a computer programmer for too long. So while I'm waiting to purchase the rest of my avionics, I'm going through the project looking for stuff I can go ahead and do now. Unfortunately all this extra work will fall under my website category of "Electrical", mainly because I don't know where else to put them. Here I've riveted the arm rests in place. No more bumbing into the clecos on the outside of the fuselage.
|
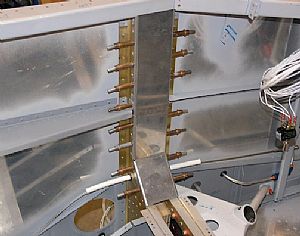 Positioned the F-704K Upright Cap Strip and drilled Positioned the F-704K Upright Cap Strip and drilled
I'm not sure when this dude get's pop-riveted on, but I'm relatively sure it's OK to drill it into place now.
|
 Back to the electrical instructions Back to the electrical instructions
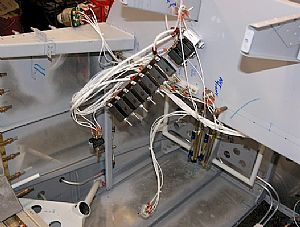
The instructions say to remove all the wiring harness components from the panel and remove the panel. I guess it's so you can start laying out the rest of the avionics on a flat working service. Makes sense to me. So I used some zip ties to hang everything temporarily.
|
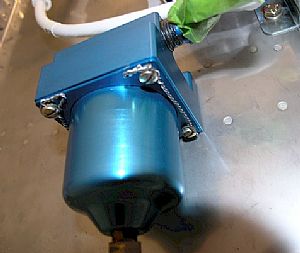 Hmm.... what can I do now? Hmm.... what can I do now?
I was looking through the Vans Air Force forums and saw where someone had safety wired the access panel on the bottom of gasclator. I went out to the garage to look at the gascolator screws and sure enough, they all had holes in them for safety wiring. Good thing I was digging around on the internet. This could have ruined my whole day when out flying around. Those of us who are average Joes and not mechanics would probably have missed this.
|
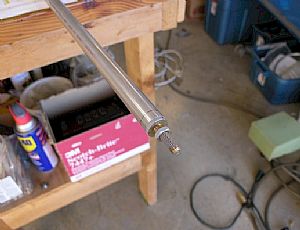 Here's how a programmer thinks.... Here's how a programmer thinks....
"Ya know, I need to order the Ray Allen stick grips for my control sticks, which will have push-to-talk switches in them for the intercom, which I will be ordering soon. Welllll, if I'm ordering stick grips, then I need to install the control sticks. Welll, if I'm installing the stick controls, I need to make all the parts, like the elevator pushrod." Thus the elevator push rod in the picture. Here I've cut the rod tube to length and put in the end pieces.
|
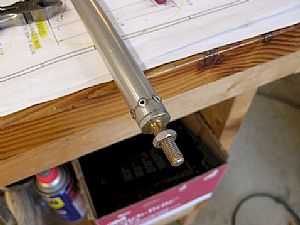 End pieces pop-riveted into place End pieces pop-riveted into place
You'll notice that I didn't permanently attach the rod end bearings yet. I put them on temporarily and marked on the screw end piece where the jam nut will be when the rod end bearing get's it final tight-down. Why? Glad you asked. Becaaaaaaause..... you can't get the damn elevator pushrod inside the middle slot of the fuselage with the damn rod end bearings already installed on the damn elevator pushrod rod. OK, OK, I admit it I went ahead and installed the rod end bearings on the push and then noticed that you can't the rod inside the slot on the fuselage. It would have been nice if the instructions had a warning about this predicament ahead of time.
|
Home Previous Entry Next Entry Back
|


