RV-9A: Top Skins and Baggage Area - 9/7/2009
Home Previous Entry Next Entry Back |
Share on:

|
|
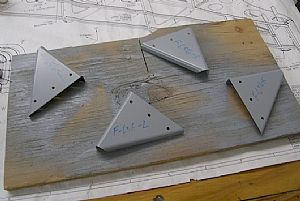 Riveting the F-656-L&R gusset plates Riveting the F-656-L&R gusset plates
Now that the top skins are off, I can go back and rivet these gussets. While they were still clamped into position, I drilled the holes into the longeron. Here, I've deburred, smoothed the edges and primed the parts.
|
 Done! Done!
But... these dudes required a lot of changing of yokes and switching back in forth from the pneumatic squeezer to the hand squeezer. It took a long time to get everything riveted. Sometimes the small parts take longer to install than the big ones.
|
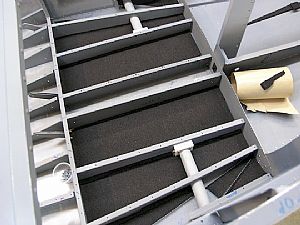
 FInal drilled the rest of the holes in the F-747 baggage floors FInal drilled the rest of the holes in the F-747 baggage floors
Some of the holes were final drilled in a previous step. Now I needed to final drill the other holes around the edges. All this work was done with the top skins still off at this time. It would be pretty tough to get to the rear nutplates if the top skins were still on.
|
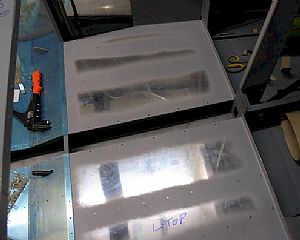
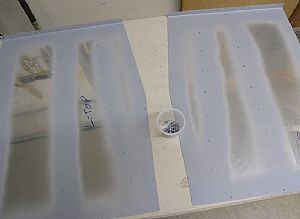 Deburred, sanded the edges and primed the F-747 baggage floors Deburred, sanded the edges and primed the F-747 baggage floors
I also primed the nutplates. I forget sometimes that these parts are made of steel and will rust.
|
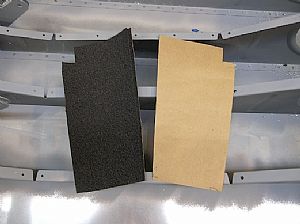 Time to soundproof before installing the baggage floor Time to soundproof before installing the baggage floor
Here I used some postal paper to make a pattern off the area to be soundproofed, then I traced the pattern onto the paper back of the 1/4 inch soundproofing material, and cut it out.
|
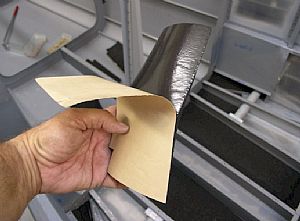 Time to STICK it Time to STICK it
I peeled back some of the paper backing and folded it back under the soundproofing material, so I could grab it after pressing the front part into place. Note here: Once you stick down, it aint' coming off! If you try to pull it off, it will pull all the primer off your part and you will have to trash your piece off soundproofing.
|
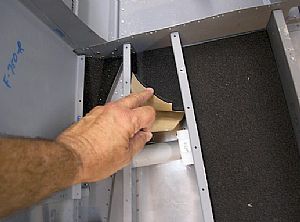 Put the soundproofing in Put the soundproofing in
I pressed the forward end into position and then pull the paper off the rest of the soundproofing material from behind, pressing it into position as I went along.
|
 Done! Done!
Now for the other side of the step pipe.
|
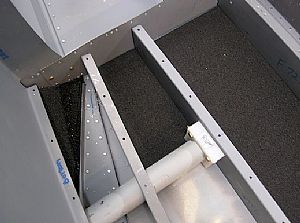
 Now, all soundproofed! Now, all soundproofed!
You can tell the difference this stuff makes when do a finger tap on the outside of the fuselage skin in different places and then tap the outside of the baggage section skin. Ever wonder why your car is so quiet on the road? Check out this video of the soundproofing in a Honda.
|
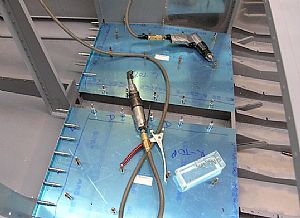
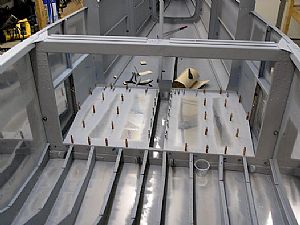 Time rivet on the baggage floor pieces Time rivet on the baggage floor pieces
This is going to take a while. There 18 nutplates! Damn...
|
 Thar' tis'! All done! Thar' tis'! All done!
My son helped with the pop-rivets. He just loves that pop-rivet gun!
UPDATE 3/1/2010: Hold the phone! Now that I'm thinking about avionics, I should have put some conduit under these panels and maybe even not pop-riveted them down at this point. If you are going to put some glass panel stuff in, some of the accessories associated with those items have to behind the baggage panel, to avoid magnetic interference from the engine. Extra conduit allows you to run additional cables. Dammit!
|
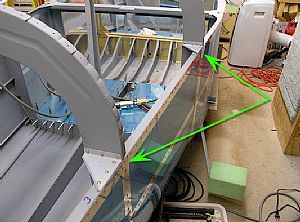
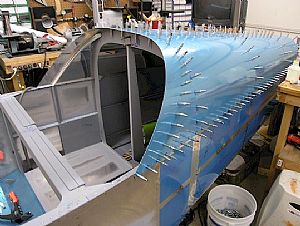 Put the top skins back on Put the top skins back on
The next step involves the fitting and drilling of the F-751 and F-652 corrugated baggage bulkheads to the F-706 bulkhead, so the top skins have to be back on. Actually, for this next step, the instructions say "While the top skins are still clecoed to the fuselage...". Oh well, I'm still glad I took the skins off to install the baggage floors.
|
Home Previous Entry Next Entry Back
|


