RV-9A: Top Skins and Baggage Area - 8/31/2009
Home Previous Entry Next Entry Back |
Share on:

|
|
 NOW it's time to install the F-750-L&R Aft Baggage Side Covers NOW it's time to install the F-750-L&R Aft Baggage Side Covers
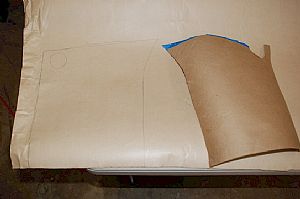
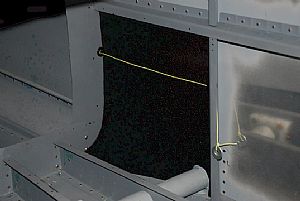
But first, I wanted put in the 1/4 inch soundproofing material that I ordered from Aircraft Spruce. First, I cut out a hunk of postal wrapping paper and pressed it into the space where the insulation will go, under the F-750 baggage side covers. Then I ran my fingernail around the edges of the paper, forcing it into the corners. This made a nice template that I cut out of the paper with a pair of scissors.
|
 Nice fit! Nice fit!
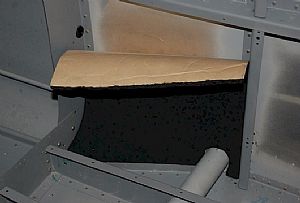
You can see the paper on the back of the sounding in the picture. All I had to do was position the piece where it needed to go and then peel back the top of the paper backing, revealing the sticky backside, and then press the top part into place. Then all I had to do was pull the bottom part of the soundproofing out and grab the paper from the top from behind, and then pull it off the rest of the way. Then I just started pressing the soundproofing onto to the fuselage skin, working my way down from the top.
|
 Looking good! Looking good!
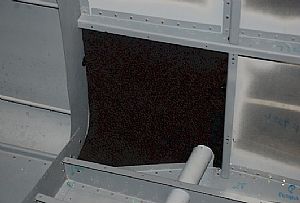
That thar' is some sticky stuff. I'm not worried one bit about it coming loose over time. Then I tried the finger "thump" test on the outside skin of the fuselage. The soundproofed section was definitely quieter than the non-treated sections.
|
 Time to get strung out... Time to get strung out...
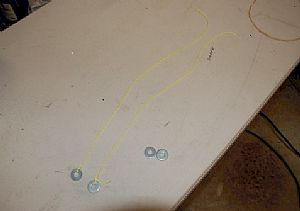
I learned a long time ago when I was building houses with my Dad to think ahead when it comes to running stuff behind a wall that will be permanently closed up. I haven't read ahead yet to see what goes behind the baggage panel. But I know that something will be going through there. So just as a CYA factor, I got some washers and nylon string to run though the holes in the ribs behind the baggage side panels.
|
 Here's the string with the washers Here's the string with the washers
Now I won't have any problem running stuff behind this panel after it's installed.
|
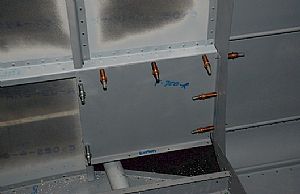 Clecoed the F-750 Aft Baggage Side Covers on Clecoed the F-750 Aft Baggage Side Covers on
The first problem I see is that I should have pre-dimpled the nutplate rivet holes in the F-724 ribs before installing them. My hand squeezer won't fit behind the flange to dimple these holes. So I will have to use my vise grip dimplers to dimple those holes. I don't like using the vise grip dimpler because it just doesn't do as good a job of dimpling as the hand squeezer. Also, if you close the vise grips all the way down, then when they POP open, you can make some dents in surrounding materials. How do I know? Don't ask. I updated my previous entry here so no one will make my mistake.
|
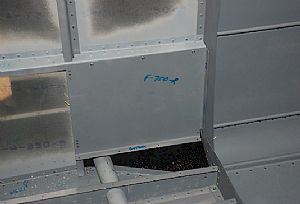 Poof! The side panels are on... Poof! The side panels are on...
Just like those info-mercials on TV where those "experts" sheetrock and paint a whole room in 30 minutes! You know damn-good-and-well that it took longer than 30 minutes. These panels were a little tricky, especially while exposing your backside as you bend over the side of the fuselage. Remember the Saturday Night Live episode with Dan Aykroyd as the refrigerator repairman? Good stuff...

|
 That's it! The top skins have got to come off That's it! The top skins have got to come off
I removed the top skins to make easier to get to stuff. I guess that's OK at this point.
|
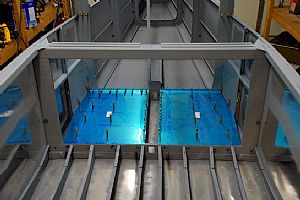 Time to install the F-747 baggage floors. Time to install the F-747 baggage floors.
Is it really OK to rivet these guys down now? I'm a little concerned. Opinions welcome. Here I've clecoed everything in and will start drilling tomorrow.
|
Home Previous Entry Next Entry Back
|


