RV-9A: Left Fuel Tank - 9/5/2006
Home Previous Entry Next Entry Back |
Share on:

|
|
 Getting ready to rivet on the Left Tank Rear Baffle Getting ready to rivet on the Left Tank Rear Baffle
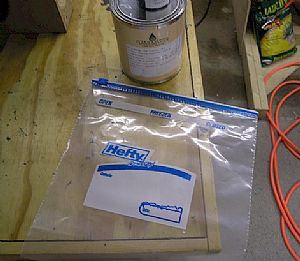
First, I swiped a couple of freezer bags from the kitchen.
|
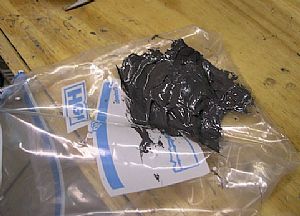 Mixed up some proseal Mixed up some proseal
I turned the freezer bag inside out and put a big blob of Proseal in one corner of the bag.
|
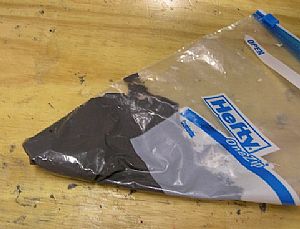 Prepared the freezer bag for Proseal squeezing Prepared the freezer bag for Proseal squeezing
I turned the bag back outside in and cut the tip off of the freezer bag, about 3/8 of an inch across. Then I rolled the bag into a cake icing form and squeezed the Proseal towards the opening in the bag.
|
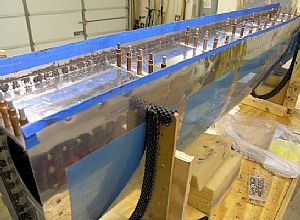
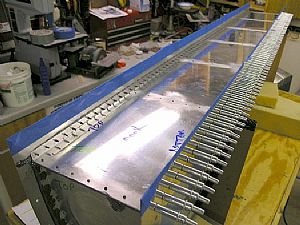 Applied the Proseal and put the back baffle into position. Applied the Proseal and put the back baffle into position.
This wasn�t as hard as I thought it would be. I applied the Proseal to the skin and ribs as indicated by the instructions. Then I just positioned the baffle longways between my hands and slowly lowered it into position. Then I clecoed everything together. Dat�sa lotta clecos!
|
 Hand squeezed the skin to the baffle Hand squeezed the skin to the baffle
Wow, what a job! I didn�t even want to know how many rivets I put in, but it sure turned out nice.
|
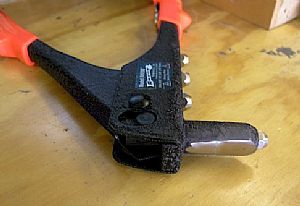 Prepared the pop-rivet gun for attaching the Z brackets Prepared the pop-rivet gun for attaching the Z brackets
I used my Scotchbrite wheel to whittle this dude down to clear the side of the Z bracket while pop-riveting the bracket in place. I was surprised at how much material I had to remove.
|
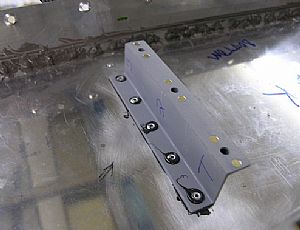 Started pop-riveting on the Z brackets Started pop-riveting on the Z brackets
I put some Proseal around each hole in the baffle before clecoing on the Z brackets. Then I swirled each pop-rivet in Proseal and put them in.
|
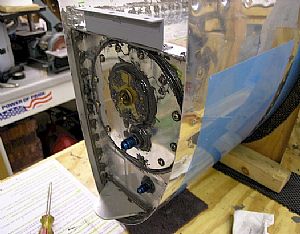
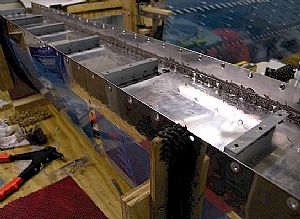 All the Z Brackets are on! All the Z Brackets are on!
I think this is the easiest part of the whole tank thing.
|
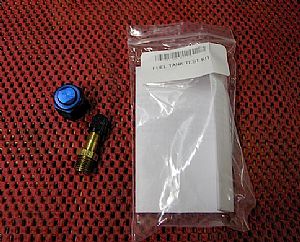 Received my fuel tank test packet from Vans. Received my fuel tank test packet from Vans.
Looks pretty easy. All I have to do is put the blue cap fitting over the fuel pickup line on the access plate and screw the bicycle pump fitting into the few drain hole. Then I will attach a balloon to the vent line and use a bicycle pump to put air inside the tank until the balloon starts to blow up. Then it�s leak-checking time.
|
 Keep on keepin' on Keep on keepin' on
I'm really gettin' tired of working on this here tank, so I decided to go ahead and install the access plate. I installed the fuel tank sender on to the access plate, putting a layer of proseal on each side of the rubber gasket. Then I did the same on the access plate, making sure to dip the the screws into the proseal before screwing them in place. Next step, the balloon test!
|
Home Previous Entry Next Entry Back
|


