RV-9A: Left Elevator - 2/19/2006
Home Previous Entry Next Entry Back |
Share on:

|
|
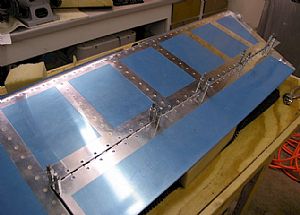
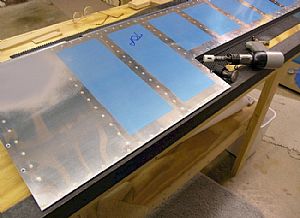 Riveted the Left Elevator trailing edge Riveted the Left Elevator trailing edge
I put my steel angle on the edge of the work bench and back riveted the rivets and then finished them off with the mushroom head. This time I didn't turn the elevator over to finish off the rivets. I did all the riveting from the back side. It turned out really nice.
|
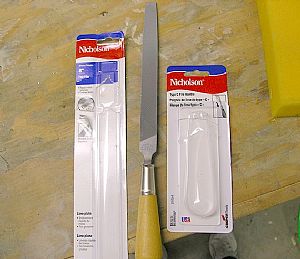 Bought a new crosscut file from Lowes Bought a new crosscut file from Lowes
This file has cross cut teeth that made easy work of getting the excess aluminum of the wedge off at the trailing edge of the elevator. After I got it filed down to be almost flush with the elevator skin, I finished it off with a finer tooth file and sanded everything down. The wooden handle really helps to keep the file from digging into your hand.
|
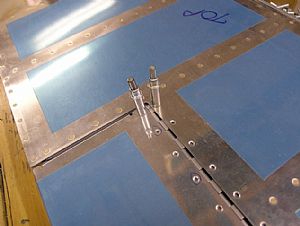 Started work on attaching the trim tab Started work on attaching the trim tab
I drilled two starting holes on the end of the trim tab into the hinge, establishing the distance from the side and front of the trim tab from the horizontal stabilizer.
|
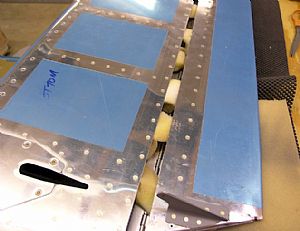 Flipped the elevator over Flipped the elevator over
I knew that I was going to have to establish the position of the hinge down the line on the trim tab and elevator. I cut little snippets of sponge and shoved them behind the hinge to force it up against the elevator and trimtab.
|
 Drilled 8 more holes into the hinge Drilled 8 more holes into the hinge
When I flipped the elevator back over, I was able to mark and drill holes in 4 more positions that matched the distance established by the first 2 holes that I had drilled previously.
|
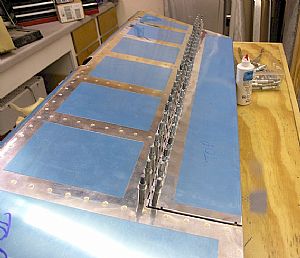 Drilled all of the remaining holes Drilled all of the remaining holes
This part was a piece of cake, since the four positions I had established were keeping things lined up perfectly.
|
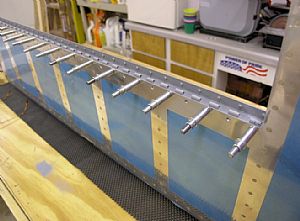 Started riveting the hinge to the elevator and trim tab Started riveting the hinge to the elevator and trim tab
I took pulled out the hinge pin and started riveting the hinge halves to the trim tab and elevator using my hand squeezer with the no-hole yoke. The no-hole did not work great, but it did the job.
|
 Finished! Looks pretty good Finished! Looks pretty good
I have a nice straight line. One warning to other builders though. The last step of installing the trim tab is to flip the elevator over and bend the flange on the bottom of the trim tab so it won't hit the spar on the elevator. Be sure and clean out any metal shavings that might be between the sheet metal and the spar on the trim tab. I forgot to and now you can see little indentions in the sheet metal from the metal shavings after the bend was completed.
|
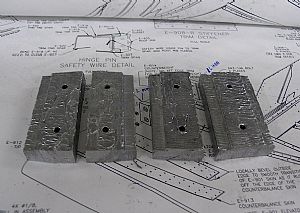 Cut the counterbalance weights for the elevators Cut the counterbalance weights for the elevators
I really had to put on my thinking cap to make sure I didn't screw this one up. I used my band saw to make the cuts.
|
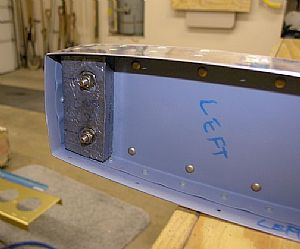 Attached the counterbalance weights to both elevators Attached the counterbalance weights to both elevators
I found a drill bit that match the bolts that went into the elevators and counterbalance weights and drilled everything out to make it easier to put bolts in, otherwise I would need a hammer and I sure as hell don't want to do that. I used my torque wrench and tightened everything down.
|
Home Previous Entry Next Entry Back
|


