RV-9A: Landing Gear - 12/16/2013
Home Previous Entry Next Entry Back |
Share on:

|
|
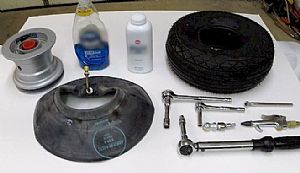 Time to put the tires on the rims Time to put the tires on the rims
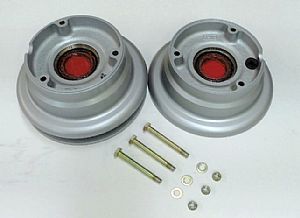
Here's all parts and tools, plus some dishwashing liquid and baby powder.
|
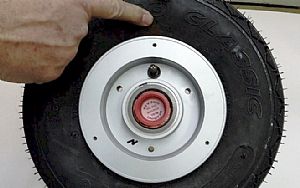
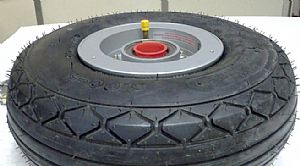
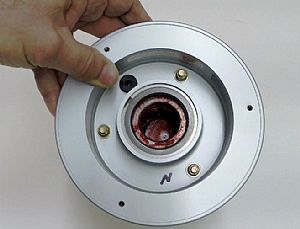 Here's one of the rims Here's one of the rims
There's a red plastic cap that covers the hole in the rim and protects the bearings that already have the red lubricant applied to them. There is a rubber grommet that the value stem of the tube will go through. I also marked this side of the rim with an "N" so will remember which side has the nuts for the for the bolts.
|
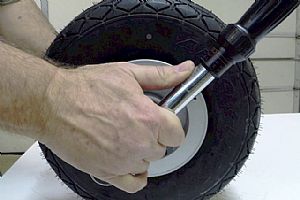
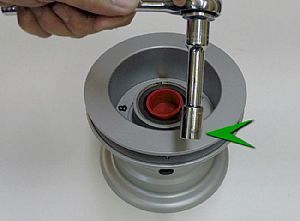 Made a little adjustment to the socket Made a little adjustment to the socket
My socket edge was a little fat to get onto the bolts in the rim, so I had to grind off a little bit to get it to fit on the bolt heads.
|
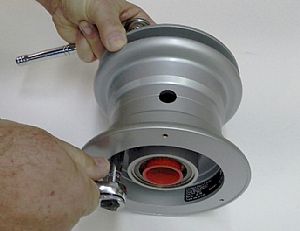 Unbolted the tire rims Unbolted the tire rims
|
 Here's what it looks like taken part Here's what it looks like taken part
|
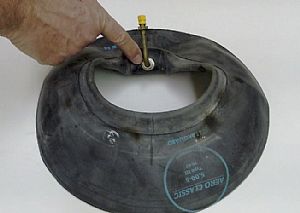 Here's the inner tube Here's the inner tube
The instructions say to remove all the nuts and washers from the inner tube. Since, at this point, I had already tried to put the other tire and rim together without the nut and washer on the inner tube. I found that when I aired up the tire, the inner tube pushed it's way into the hole in the tire rim and made the valve stem lean way over on the rim. So here, I kept the nut and washer on the inner tube and removed the second nut, located under the valve stem cap. The nut and washer prevents the inner tube from pooching inside the rim.
|
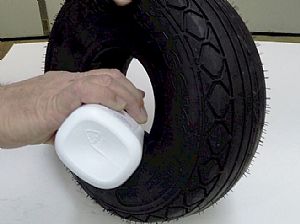 Put baby powder inside the tire Put baby powder inside the tire
I put a generous helping of baby powder inside the tire, rotating the tire as I went around. Then I bounced the tire around on the top of the work table to spread the powder evenly. The powder allows the innertube so slide into position more easily when aired up.
|
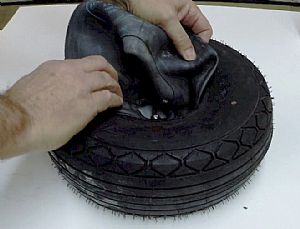 Shoved the innertube inside the tire Shoved the innertube inside the tire
This is no easy task. The damn thing does not want to go in. I just shoved it in any way I could.
|
 Put in a little puff of air Put in a little puff of air
I wanted to move the innertube around to try and get any wrinkles that may form on the surface of the innertube. Putting a lttle bit of air in helps this.
|
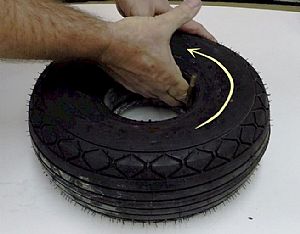 Rotated the innertube inside 360 degrees Rotated the innertube inside 360 degrees
Just to make sure that the partially aired up innertube doesn''t have any unwanted wrinkles or folds, I rotated it around the inside of the tire a full 360 degrees, and lined up the valve stem with the big red dot on the tire.
|
 Lined up with the red dot Lined up with the red dot
Actually, for some reason, there are two red dots. One, which is obviously the line up point for the value stem the other a paint drop mistake from the manufacturer.
|
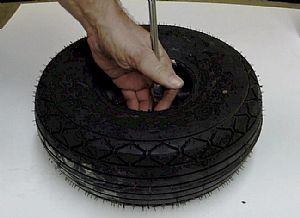
 Time to insert the innertube valve into the tire rim grommet Time to insert the innertube valve into the tire rim grommet
This was really tough task for such a simple thing to do. That valve does not want to go through the grommet, but it will go through, with some persuasion and random cursing.
|
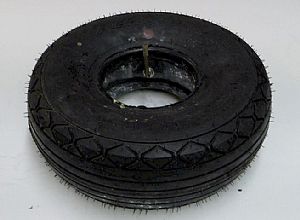
 One rim in place One rim in place
I made sure that the valve stem was still lined up with the red dot.
|
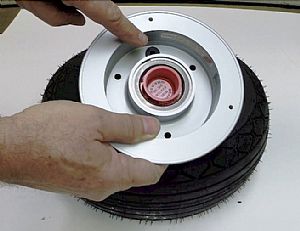
 Now for the other rim part Now for the other rim part
This rim part comes in two pieces. Both are installed at the same time. The inner rim that goes inside the tire, and the outer rim part that is for the brake shoe component. I found that if I inserted one bolt, it made it easier to line up the other bolts when inserting them. Note: I forgot to mention here that before I put in the bolts, I rubbed dishwashing liquid onto the rims and tire edges to allow the tire to slide into place easier when being aired up.
|
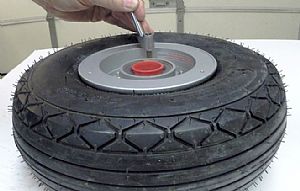
 Time to tighten the bolts Time to tighten the bolts
The torque setting is written on the placard inside the rim.
|
 Time to air up the tire to 25 lbs Time to air up the tire to 25 lbs
The dishwashing liquid really helps slide the tire into position.
|
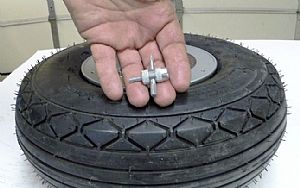 Time to let all the air out Time to let all the air out
In order to insure that there are no folds in the innertube, I used this value stem core removal tool and took the core out, allowing all the air to bleed out of the innertube. Then afterwards, I put the value stem core back in, being careful not to make it too tight in the stem. This could damage the core.
|
 Aired up the tire Aired up the tire
Here it is, ready to go. I would like to mention that I used the core removal tool twice and let all the air twice, just to make sure that the innertube was fitting okay inside the tire.
|
Home Previous Entry Next Entry Back
|


