RV-9A: Front Deck/Firewall - 4/3/2010
Home Previous Entry Next Entry Back |
Share on:

|
|
 Started work on the Front Deck Started work on the Front Deck
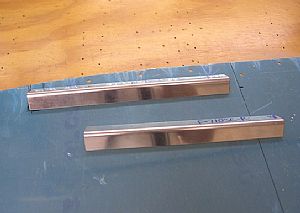
Time to put the Front Deck or Panel together, I think. I really miss the orderly building process I've had until now. I feel kind of like the Jolly Green Giants first wife on her wedding night, coming to grips with "I'm not sure what to do next". Here I've made the F-7103C-L&R Attach Angles that go on the back of the F-7103 Instrument Panel.
|
 Fluted the angles and drilled the nutplate holes Fluted the angles and drilled the nutplate holes
The F-7103C-L&R Attach Angles have to fluted to enable them to conform to the outer edge of the panel top.
|
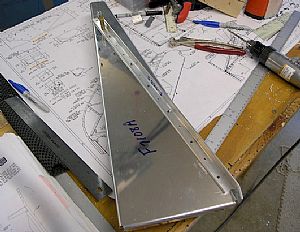
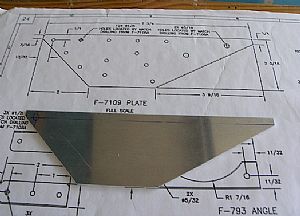 Made the reinforcement F-7109 Plate Made the reinforcement F-7109 Plate
Not sure what this plate is for, but I'm a'makin' it!
|
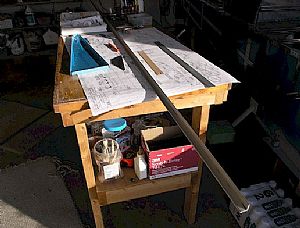 Time to make the the F-7108B Angle Time to make the the F-7108B Angle
This angle is made from the same angle stuff as the longerons. The only tool I have for cutting this stuff is my hack saw. This will take a while.
|
 Make the cut on the angle Make the cut on the angle
This is a pretty easy cut using the band saw.
.
|
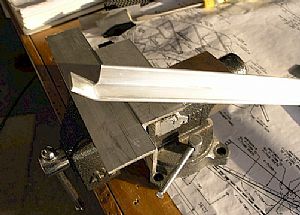 Making the bend Making the bend
I put two pieces of scrap aluminum angle in the vise and made the bend on the angle pieced. The scrap aluminum keeps the vise from making marks on the angle piece.
|
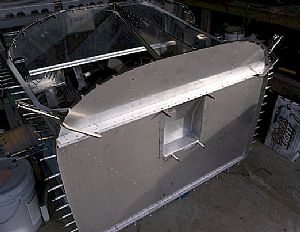 Making the bend in the firewall Making the bend in the firewall
This has to be an eight degree bend. This firewall material is really weird. You breath on it and you get a dent. So I decided to cut a piece of aluminum angle from Home Depot to fit across the face of the firewall, exactly where the bend goes. After clamping it in place, I carefully pulled the firewall top towards to me and made the bend. It turned out pretty good.
|
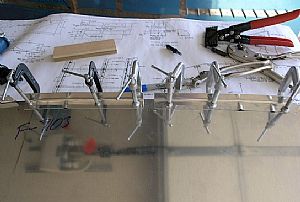
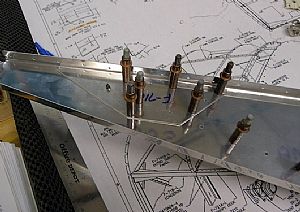
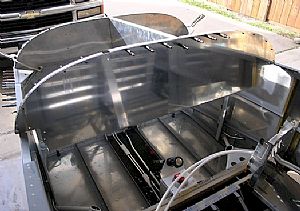 Drilling the F-7109 plate & F-7108B angle to the F-7108A Center Rib Drilling the F-7109 plate & F-7108B angle to the F-7108A Center Rib
Just blindly drilling the angle into it's precise place on the center rib is impossible without clecoing the front deck together to see exactly where it goes (not mentioned in the instructions). Besides, it's damn cool to see all of this stuff in place!
|
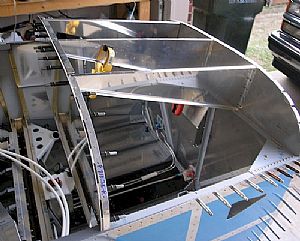 Now I'm ready to figure out where the F-7108B angle goes on the rib Now I'm ready to figure out where the F-7108B angle goes on the rib
I went ahead and pulled out to other 2 deck ribs and dimpled the end flanges so I could cleco them in place to the firewall. Now I can exactly where the F-7108B angle goes on the center rib. I clamped it place and removed it for drilling the side holes.
|
 Time to drill the angle using the holes in the center rib Time to drill the angle using the holes in the center rib
|
 Time to drill the F-7109 Plate on the other side Time to drill the F-7109 Plate on the other side
I had already predrilled one hole on this plate to match it to the center rib. Then it was just a matter of lining up the holes in the center rib to the line that I drew on the F-7109 Plate.
|
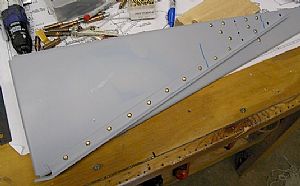 Time for riveting Time for riveting
There are some rivets that don't get put in yet. The holes need to stay open for another angle piece that goes in later. Also, I noticed the instructions said to put a washer between the angle and the center rib on one rivet to allow for a brace that installs later.
|
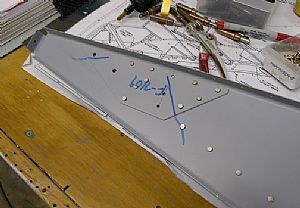 Here's the flip side Here's the flip side
This shot shows more clearly which holes are left open.
|
Home Previous Entry Next Entry Back
|


