RV-9A: Fuselage Plumbing - 1/31/2010
Home Previous Entry Next Entry Back |
Share on:

|
|
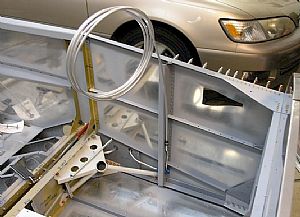 Time to finish up the fuel vent lines Time to finish up the fuel vent lines
The Romex pattern thing won't work here. So I just decided to grab the roll of tubing and go for it. First I made the "go-around" bends where the rudder cable goes thru the bulkhead. Then I put in the first clamp, just to hold what I had done so far. Head scratching starts here...
|
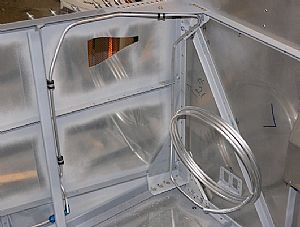 Keep on bending, Keep on bending... Keep on bending, Keep on bending...
After I put in the second clamp, I made a sharp angle turn up to the thick top angle piece to avoid the part that gets riveted to the side bulkhead later. I also drilled a hole for the fuel line clamp screw in the upper corner angle part and put the third clamp on. Note here. Be sure and keep the hole you drill is clear from another part that is directly beneath the upper angle part. It will interfere with your fuel line clamp.
|
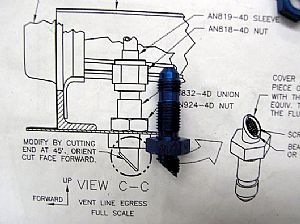 First things first First things first
I need to install the bottom fuel vent line fitting in order to get the fuel line cuttoff measurement. This fitting must have an angle cut made on it. It was a pretty easy cut with the band saw. I will also proseal a screen over the end of the cutoff later. I found these water hose metal screen filters at my local hardware store. I will cutoff the rubber part and smash the screen flat to put over the fuel vent line hole.

|
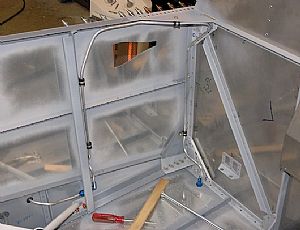 Time to make the mark Time to make the mark
I used my hand mirror and a fine point sharpie to mark the cutoff points on the fuel vent line, using the fuel fittings as a my reference point.
|
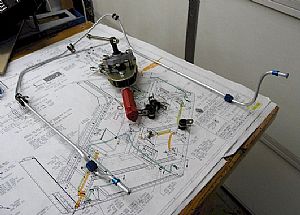 Doing things with a flare! Doing things with a flare!
Here I put my fittings on first (this time) and made both flares on the fuel vent lines.
|
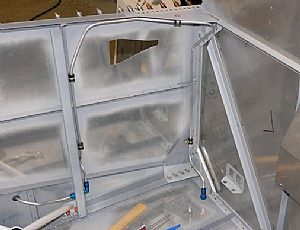 Done! Done!
Not as hard as I thought it would be.
|
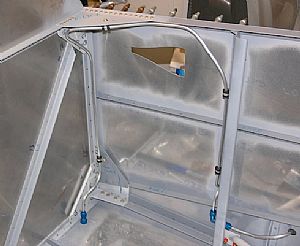 Did the right side too Did the right side too
This side took about half the time of the other, since I "half-way" knew what I was doing.
|
Home Previous Entry Next Entry Back
|