RV-9A: Flap Motor & Landing Gear Mounts - 12/12/2009
Home Previous Entry Next Entry Back |
Share on:

|
|
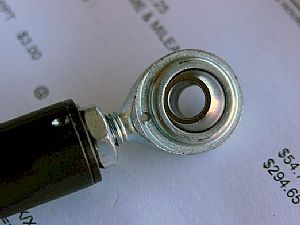 One more safety wire hole One more safety wire hole
After drilling the safety wire hole into the ES-85615-157 flap motor shaft, I saw an entry on Vans Air Force forums where someone added another safety wire hole to prevent this part from swiveling. It made sense to me so I did it.
|
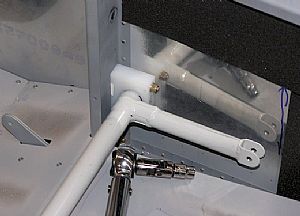 Time to torque the nuts on everything Time to torque the nuts on everything
Here I torqued the nylock nuts on each and then final drilled the holes in the center block to the floor panels and rib. BUT, then I realized that the center bolts go into nutplates (not yet installed) after you drill the holes using the center block as a drill guide. The only way to install the nutplates in the center section is to remove the flap actuator. Then it was "back to the forums" to find out whether I could reinstall the nylock nuts again after they were already torqued once. Turns out you can reinstall previously torqued nylock nuts. See this thread on Van's Air Force, especially Mel Asberrys comment. He really knows his stuff. Here is his comment: "It is perfectly acceptable to reuse nylock nuts as long as you cannot install them by hand. The locking mechanism is secondary to the nut being torqued. If you want to use them once and throw them away, that's you choice, but it is certainly not necessary." On my next RV, I will only use regular nuts to tighten the ends of the flap actuator in place in order to final drill the center block, then go back and replace the nuts with nylock nuts.
|
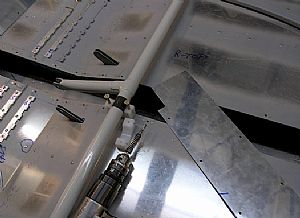 Here's the center block Here's the center block
You'll notice that I also notched out the center plate to fit around the center block. There is no way to get the nuplates under the center block onto the floor panel and rib without removing the flap actuator first.
|
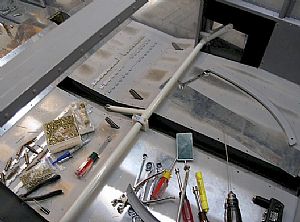 Here's this whole thing Here's this whole thing
|
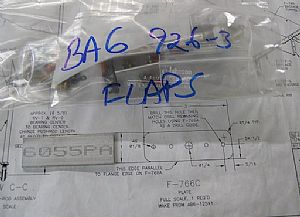 Time to make the F-766C plate Time to make the F-766C plate
OK, here we go again, the #$%^ search for this material to make this part. I had previoulsy scanned the parts list into a spreadsheet so I could easily find stuff on my computer. Neither the part number nor the material to make the part is on the parts list. Dammit! Time to go through every crook and cranny looking for this material. After an extensive and time consuming search, I found a bag that had flap parts in it. Thar' tis'!
|
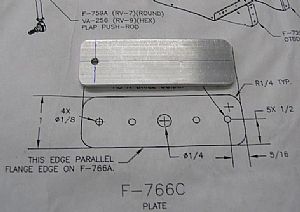 Here's the finished product Here's the finished product
I put in one hole as directed by the instructions. Oops, wrong end. No problem, just flip the part over in your head.
|
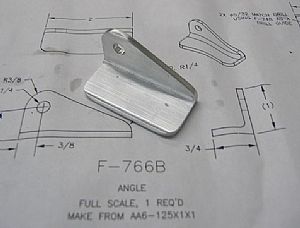 Made the F-766B angle Made the F-766B angle
This piece of angle was also in the flap bag, mentioned earlier. I really enjoy making these little works of art. I can't help but running into the house to show my wife after I finish one. She always tolerates my child-like behaviour by saying "Isn't that cute!".
|
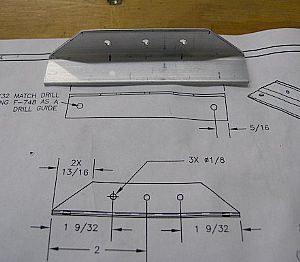 Made the attach angle Made the attach angle
No biggy here.
|
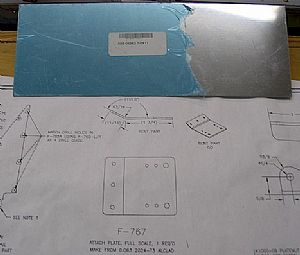 Started on the F-767 attach plate Started on the F-767 attach plate
After doing some checking on other builders websites, there seemed to be some agreement that the piece of sheet metal marked AS3-063 X 3 7/8 X 11 is the choice for making this attach plate.
|
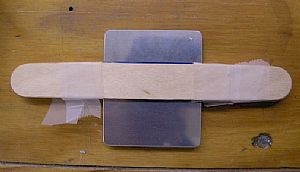 Time make the bend in the F-767 attach plate Time make the bend in the F-767 attach plate
I have learned in previous episodes of metal bending that the material must be supported on each end of the intended bend to prevent the outer ends of the material from curving during the actual bending. Damn, I sound smart... Here, I've put some tongue depressors on each side of the plate to prevent damage from the vise. The bend line shows just above the edge of the tongue depressors.
|
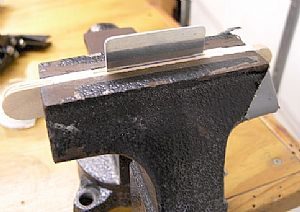 Here's the attach plate in the vise Here's the attach plate in the vise
The tongue depressors edges are lined up with the top edge of the vise.
|
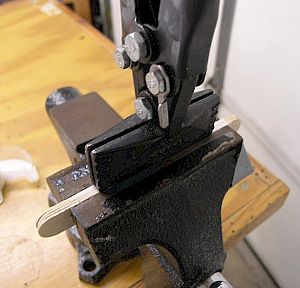 Time for the bend Time for the bend
I used my hand seamer to make the bend. That way the only thing that bends is the line on the attach plate and no where else.
|
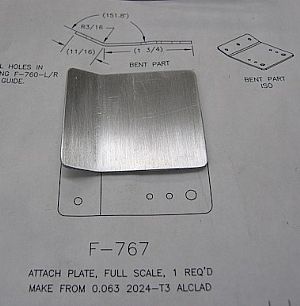 Here is it is Here is it is
Not bad.
|
Home Previous Entry Next Entry Back
|