RV-9A: Forward Assembly - 4/7/2009
Home Previous Entry Next Entry Back |
Share on:

|
|
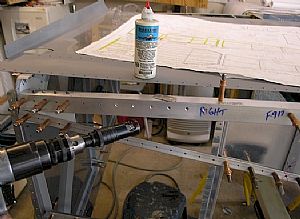 Time for dimplin' and countersinkin' Time for dimplin' and countersinkin'
I started to take the whole fuselage apart but then decided that it would be easier to dimple and countersink the parts while they are still all clecoed together. This way there isn't any head-scratching about what needs countersinking or dimpling on individual parts. I started by countersinking all the parts that needed countersinking, randomly checking the depth of the countersinks with my aluminum scrap "hole checker". I found that a drop of Boelube keeps the countersink bit from bouncing around and screwing up the countersink. Then I dimpled all the parts that required dimpling.
|
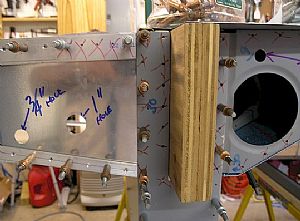 Drilled all the large holes with my Unibit Drilled all the large holes with my Unibit
I had to make a run to Lowes and get a larger Unibit for the one inch hole.
|
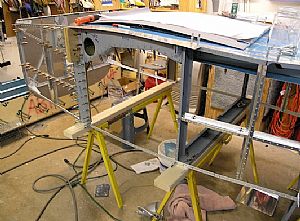 Everything is countersunk and dimpled Everything is countersunk and dimpled
I also countersunk the long longerons as well. I will finished the aft part of the longersons later.
|
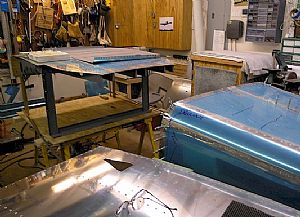 Took everything apart Took everything apart
It feels weird to be able to walk around in the garage now.
|
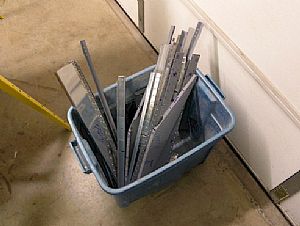 Here's my bucket-o-parts Here's my bucket-o-parts
It's hard to believe there are so few inner parts with this monster fuselage. I will start scotchbriting the edges of these parts and prime everything.
|
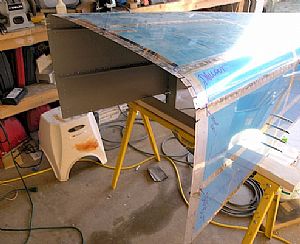 Removed the F-706 bulkhead Removed the F-706 bulkhead
I starting deburring and dimpling the holes around the bulkhead.
|
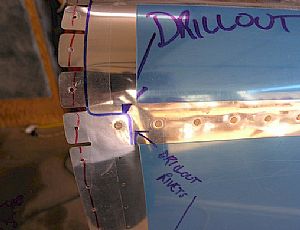 Drilled out a rivet that shouldn't have gone in Drilled out a rivet that shouldn't have gone in
I have a feeling that I'm not the only who put in these rivets where the forward skin overlaps the rear skin. I looked back at the instructions and the drawings and there isn't any way to know that this rivet shouldn't have gone in. No biggie, I'll drill it out.
|
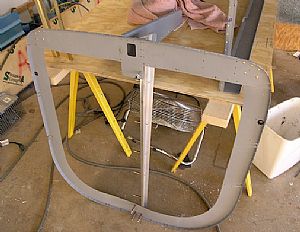 Dimpled the F-706 bulkhead Dimpled the F-706 bulkhead
Now I will start on countersinking the rest of the aft end of the longerons. I'm getting close to riveting this dude together!
|
Home Previous Entry Next Entry Back
|