RV-9A: Forward Assembly - 3/17/2009
Home Previous Entry Next Entry Back |
Share on:

|
|
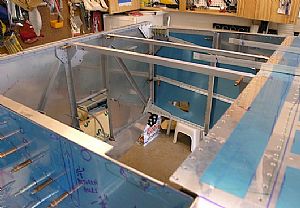 Time for fuselage assembly! Time for fuselage assembly!
I'm going to start taking the forward section of the fuselage apart and get it ready for riveting. Being the anal person that I am, I've decided to take parts off a bit at a time and prepare them according to where they go and the other parts that they are associated with. I'm starting off with the forward bottom skin and it's associated parts that are riveted in to.
|
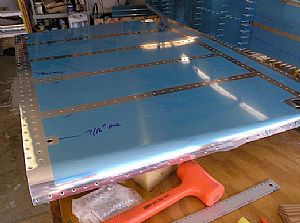 Dimpled and sanded the forward bottom skin Dimpled and sanded the forward bottom skin
I got out the C-frame dimpler and put in all the dimples. This thick skin is tough to dimple. I've noticed that when I apply a nice solid single "Whack" with the dead blow hammer, I get a nice dimple. But if I mis-hit or don't hit the C-frame plunger hard enough with the hammer, I get a distinct dip around the dimple that I can't get rid of by re-hitting the dimple. The only thing that will correct the dip around the dimple is re-dimpling the bad dimple by using my pop-rivet rivet dimpler. Even that doesn't totally get rid of the dip. I'm not too concerned about the few dimples that didn't turn out just right. They're under the airplane...
|
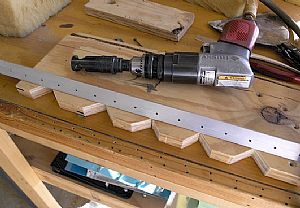 Countersunk the floor ribs Countersunk the floor ribs
I grabbed a piece of 3/4 inch plywood and cut out some chunks that will allow me to countersink the holes without hitting the plywood.
|
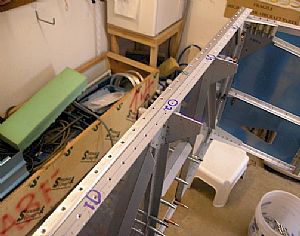 Countersunk the forward longeron and dimpled the firewall flange Countersunk the forward longeron and dimpled the firewall flange
Yea I know I could wait and do the whole thing later. But by doing these parts by association with their other parts, it's easier to assure that I'm following the plans as to what gets countersunk or dimpled and what doesn't.
|
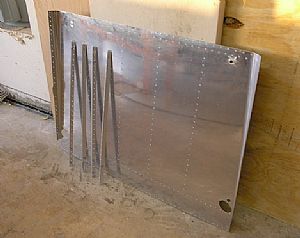 Done! Done!
The bottom skin and it's parts are now ready. Tomorrow I will remove one side skin and follow the same grouping idea.
|
Home Previous Entry Next Entry Back
|