RV-9A: Forward Section - 2/8/2009
Home Previous Entry Next Entry Back |
Share on:

|
|
 Getting ready to drill the forward side skin and longeron holes into the firewall bracket Getting ready to drill the forward side skin and longeron holes into the firewall bracket
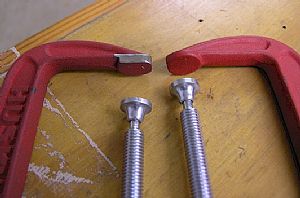
Now it's time to drill the last forward holes in the forward side skins into the upper firewall brackets. The instructions say to put more clamps on the firewall brackets to make sure they lie perfectly inside the longerons "V". In order to get a clamp over the flanges of the brackets, a larger clamp is required, but the ends of the clamps are too wide to go between the rivets that are holding the skin and longerons in position. So I took a couple of clamps and ground down the edges so the end of the clamp could fit between the rivets between the rivets.
|
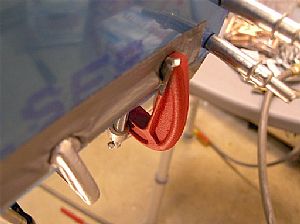 Put the extra clamps into position Put the extra clamps into position
I had to put duct tape over the rivet heads because they kept falling out. Now it's time to start pulling out the rivets one at a time and drill the holes of the side skin and longeron into the upper firewall bracket.
|
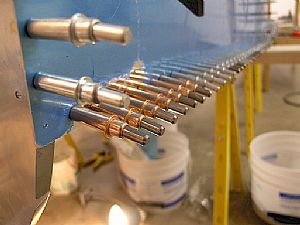 Done! Done!
Not as hard as I thought it would be. Like my new #30 clecos? I forgot that they looked like that when they are new.
|
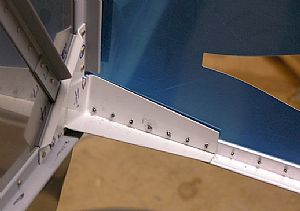 Here's the flip side Here's the flip side
It looks like everything is lined up pretty good.
|
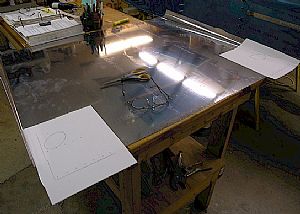 Started work on the landing gear sockets and brake line holes Started work on the landing gear sockets and brake line holes
The drawing has real-size template that you can use to lay out where the holes go in the bottom F-972 skin. I took the drawing inside my wifes home office and put a bright light under the glass top of her desk. I made two sketches on some typing paper, one opposite to the other.
|
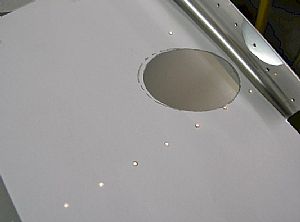 Lining up the drawing on the bottom skin Lining up the drawing on the bottom skin
I took that same light and put it under the bottom skin so that the light would show up in the rivet holes allowing me to line up the holes in the drawing. Then it was just a matter of marking the skin with a sharpie.
|
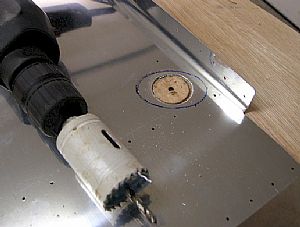 Cut out them there holes! Cut out them there holes!
I got out one of my circular hole cutters and put it into my variable speed drill. Then I cut out the initial hole using a really sloooooow speed on the drill. I found out earlier from a past drilling that going fast is a little hazardous and can really mess up the skin your drillling.
|
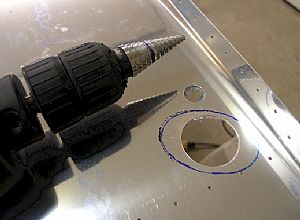 Now to drill the hole for the brake line Now to drill the hole for the brake line
I used my Unibit with my variable speed drill. I marked the 5/8" band with a sharpie on the Unibit so I will know where to stop drilling. Again, I went really slooooow when drilling this hole. If you go fast, the bit will wallow around like a stuck pig and make the hole look like crap.
|
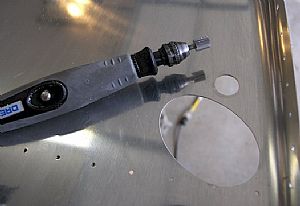 Now for the final touches Now for the final touches
I found this Dremel bit high speed cutter bit at Lowes (aircraft and lumber supply). When I read the words "high speed cutter bit" I knew I had a winner. This dude cut the aluminum like butter. Again, I had to go slooooow. When I pushed too hard and long, the aluminum would actually melt and get lodged in the teeth of the cutter, making it ineffective.
|
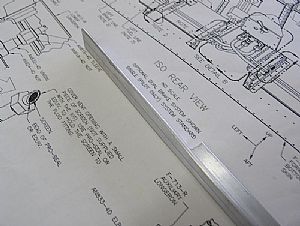 Started work on the right and left Auxiliary Longerons (F-713) Started work on the right and left Auxiliary Longerons (F-713)
These pieces are intentionally made a little long so you can custom fit them between the main bulkhead and the firewall. I drew a line down the center of one side of the longerson and fitted them into position, marking the ends where they needed to be trimmed to butt up against the main bulkhead.
|
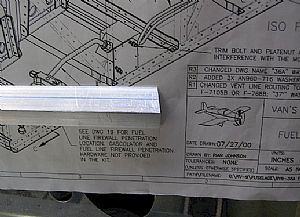 Here's the trim job on the bulk head end Here's the trim job on the bulk head end
I just used my scotchbrite wheel to trim it down.
|
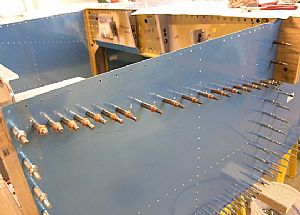 Clamp it on and drilled the holes Clamp it on and drilled the holes
I could only clamp it on the firewall end. I put duct tape on the other end and held the the longeron in place while I drilled it.
|
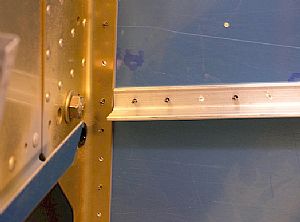 Good fit! Good fit!
The angle was just right!
|
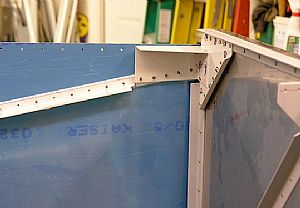 Ah-yup... Ah-yup...
|
Home Previous Entry Next Entry Back
|