RV-9A: Tailcone - 7/13/2008
Home Previous Entry Next Entry Back |
Share on:

|
|
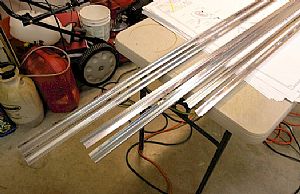 Getting strung out on stringers Getting strung out on stringers
OK, let me paint you a picture. My wife and kiddo went to a party, leaving me home alone to work for 5 HOURS in the garage! I was really excited about working on the tailcone, seeing something come together that actually looked like an aircraft. I cut the 6 J-Stringers (F-786A, B, & C J-Channels) to length and then tried to make sense out of the instructions on making the cuts on the ends. One end or boths? If only one end, is it fore or aft? ARRRRGGGGGGG!! &^%$! ^%&! %$^%! OK, time for the Lotus position. Ohhmmmmmm.... hmm... I feel better now. So, I got on the internet and only found one forum where some other builders discussed it, but there wasn't a definitive answer as to what has to be done here, just a lot of "heres' how I did it". I therefore have decided to not cut the ends right now and go ahead and cleco the tailcone together, then "how to cut" these J-Stringers will definitely stick out like a sore thumb. This little episode cost me almost 2 hours of head scratchin' and internet searchin'.
|
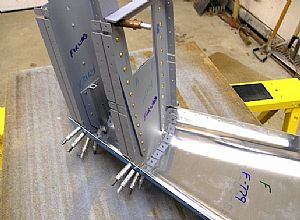 Clecoed the F-779 Tailcone Skin to the F-71 1 & F-712 bulkheads Clecoed the F-779 Tailcone Skin to the F-71 1 & F-712 bulkheads
This was somewhat of a wresting match. The tailcone skin is really thick and spread out a little. It didn't want to conform to the bulkheads. But after some aggressive pushing, I got everything together.
|
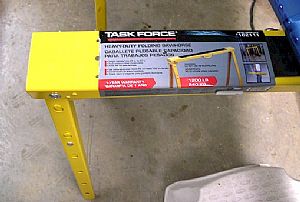 Another trip to Lowes aircraft and lumber supply Another trip to Lowes aircraft and lumber supply
 Delays, delays! Delays, delays!
I read in the instructions that you need three sawhorses, not two. I had already bought two of these heavy duty all steel sawhorses, not knowing that I actually needed three. So off to Lowes! Luckily they were on sale for $18.95. About the picture: Remember when Bugs Bunny kept interferring with Marvin Martians plot to blow up the earth? Check it out
|
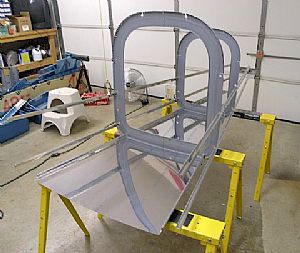 Clecoed the F-707 & F-708 bulkheads to the F-778 Aft Bottom Skin Clecoed the F-707 & F-708 bulkheads to the F-778 Aft Bottom Skin
I also slid in two of the J-Stringers.
|
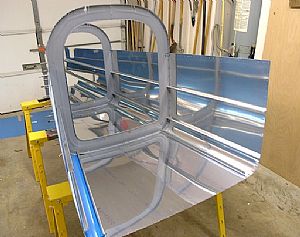 clecoed the F-773 side skins to the bulkheads clecoed the F-773 side skins to the bulkheads
I started at the bottom on each side skin, putting a few clecos into the bottom skin first, and then working my way up the two bulkhead flanges. Looks pretty cool.
|
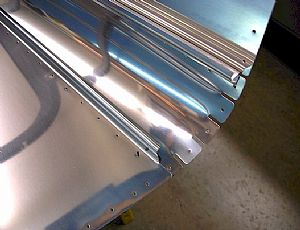 A couple of extra pics A couple of extra pics
Here's where I started. Clecoing the side skin to the bottom skin.
|
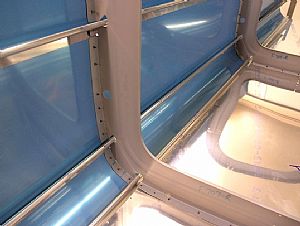 The inner workings The inner workings
I had to adjust the flange on the bulkheads ahead of time to make that they were at the same angle of the outside skins. I should know tomorrow just how to cut those J-Stringers I mentioned earlier.
|
Home Previous Entry Next Entry Back
|