RV-9A: Rod's and ends - 1/28/2008
Home Previous Entry Next Entry Back |
Share on:

|
|
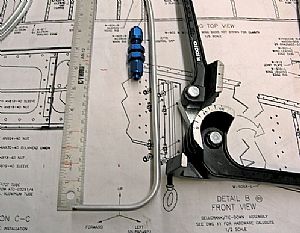 Getting ready to install the Pitot Tube Getting ready to install the Pitot Tube
This looks pretty straight forward. I started off by making my first bend with my tube bender from Lowes (aircraft and lumber supply) on the 1/4 inch tube setting. I made some marks on the plans that were 3 inches wide and 6-7 inches high to use as a go-by to form the Pitot Tube angle.
|
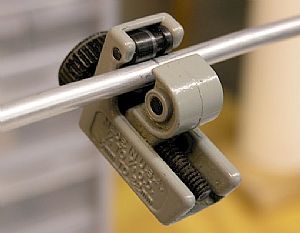 Time to cut the Pitot Tube to the right length Time to cut the Pitot Tube to the right length
This has to be the world smallest tube cutter. Itís very handy in tight areas.
|
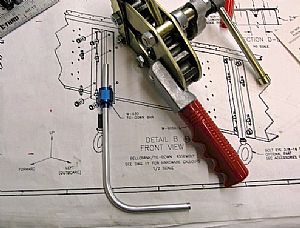 Now to make the Flare Now to make the Flare
This is where it's easy to screw up. Not because of a bad flare, but forgetting to put the fittings on first and THEN the flare. I you do, you might as well pitch the tube in the trash and start over. You'll never get the smaller fitting around the curve.
|
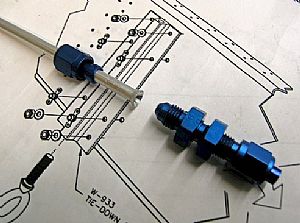 Checking the flare Checking the flare
Yep, looks good.
|
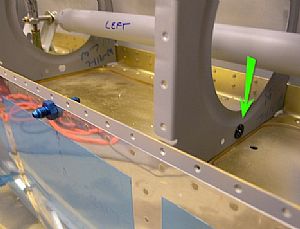 Installed the snap bushings and the Pitot Tube fitting Installed the snap bushings and the Pitot Tube fitting
Yep, it was indeed a "snap"!
|
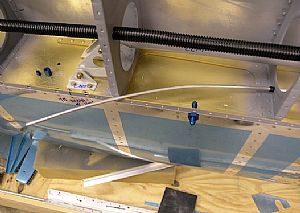 Ran the tubing in through the snap bushings Ran the tubing in through the snap bushings
I purposely pushed tubing past where it gets installed so I could put the bend in with my tube bender.
|
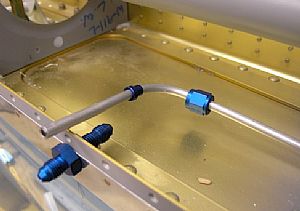 Now for the cut Now for the cut
I pushed the tube back into position and marked where I needed to cut the tube off for a good fit.
|
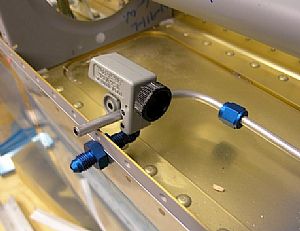 Made the cut Made the cut
See what I mean about "tight" places?
|
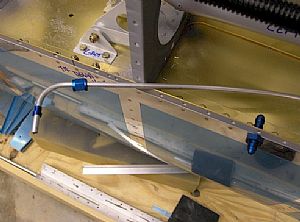 Now for the flare Now for the flare
Just as before, I pull the whole tube forward out where I could easily get to it to make a nice flare with the flaring tool.
|
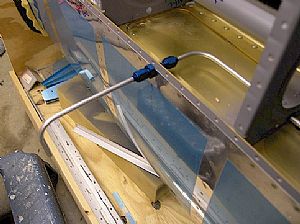 Looking good! Looking good!
Tharí tisí folks! One Pitot Tube.
|
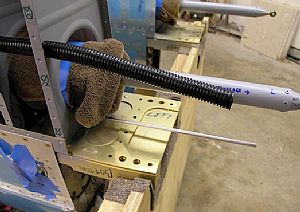 Cut off the excess on the inboard end Cut off the excess on the inboard end
The instructions don't really say how long to make this end piece, so I just guessed.
|
Home Previous Entry Next Entry Back
|