RV-9A: Right Fuel Tank - 1/2/2007
Home Previous Entry Next Entry Back |
Share on:

|
|
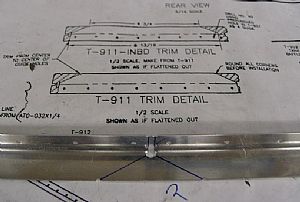 Time to cut the tank stiffeners Time to cut the tank stiffeners
I love seeing the "pile" of parts slowly starting to dwindle down, indicating the approaching completion of this part of the project. Iíve heard that the fuselage is a lot of fun to build. I will probably order the fuselage kit sometime in February.
Having done stiffeners before, this part was fairly easy and went fast. Here I have marked the cuts to be made on the bandsaw with my fine point sharpie.
|
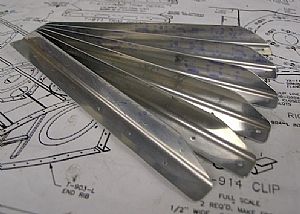 Here they be. Here they be.
After rounding the edges on the bench top sander, I broke the edges with the Scotchbrite wheel and lightly sanded everything with 320 sandpaper.
|
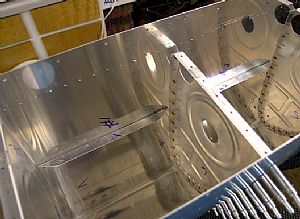 Clecoed the stiffeners in place and final drilled Clecoed the stiffeners in place and final drilled
All but one of the stiffeners are the same length.
|
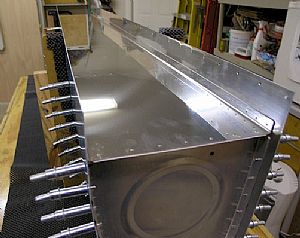 Laid the back tank baffle into position Laid the back tank baffle into position
There is no way to put this dude in backwards. The matching holes in the ribs are offset to assure proper positioning.
|
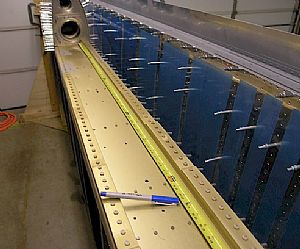 Marking the positions of Z brackets Marking the positions of Z brackets
The "Z" brackets that attach the back baffle of the tank to the main spar of the wing donít all face left or right, so I marked the positions of the main spar bolt holes onto my rule with a sharpie. I will transfer these marks onto the tank baffle to help show the proper left or right positioning of the "Z" brackets.
|
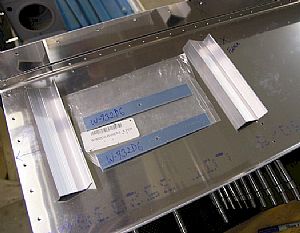 Laid everything out Laid everything out
After transferring the bolt positions off the ruler onto the tank baffle, I laid out the "Z" brackets over their associated ribs on the back of the baffle. Then I located the W-932DG drill guides that will be used to insure the proper initial drilling of the "Z" brackets.
|
Home Previous Entry Next Entry Back
|