RV-9A: Right Wing Prep - 12/27/2006
Home Previous Entry Next Entry Back |
Share on:

|
|
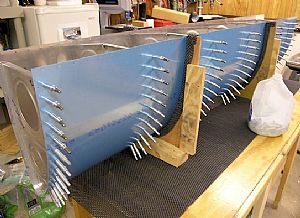 Finished clecoing the lead edge assembly together Finished clecoing the lead edge assembly together
I waited for my order of new clecos to come in so I could finish putting this dude together. After completing this part I read the next instruction in the manual which said to remove the bottom skins, which would have given me more clecos than I actually needed. Do'h! Oh well, it never hurts to have more clecos than you need.
|
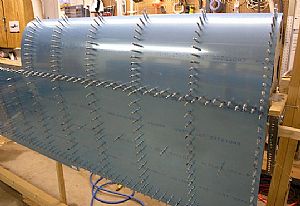 Mounted the leading edge assembly on the main spar Mounted the leading edge assembly on the main spar
This right wing thing is really going faster than I thought it would. I started putting the clecos into the main spar and when I got to the outboard end, I noticed that the gap between the leading edge skin and the wing skin was way to big. So I removed the end rib and adjusted the leading edge flange of the rib a little bit to make a better fit to close the gap.
|
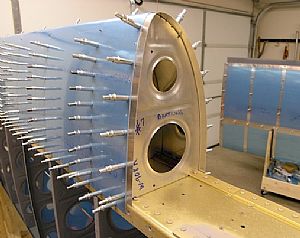 Inserted the W-919 Doubler strip Inserted the W-919 Doubler strip
I talk about this part a lot more here when I did the left wing, so I didn't put as much detail on this part. This is quite a wrestling match to put this dude in. I did a pre-bend on the strip by laying the strip over the leading edge assembly and then cut it size. I marked a line on the strip with a sharpie to help line up the strip with the skin holes. After getting everything in place, I final drilled the rib and doubler strip using the pre-drilled holes in the skin. Tomorrow I will finish final drilling the whole lead edge assembly.
|
Home Previous Entry Next Entry Back
|


