RV-9A: Right Wing Prep - 12/6/2006
Home Previous Entry Next Entry Back |
Share on:

|
|
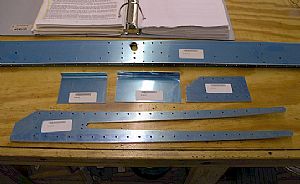 Started work on the right wing rear spar Started work on the right wing rear spar
I located all of the parts. Now itís time to think in reverse, since the plans show the left wing assembly.
|
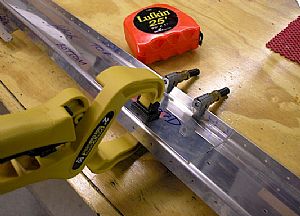 Clamped the middle doubler plate onto the rear spar Clamped the middle doubler plate onto the rear spar
This doubler plate goes on the middle of the spar, 44 3/4 inches from the end of the spar.
|
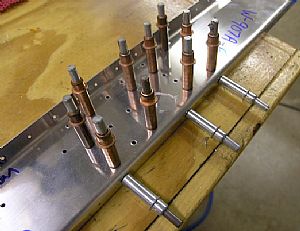 Drilled the holes into the doubler plate Drilled the holes into the doubler plate
I flipped the spar over and drilled the holes into the doubler plate using the existing holes in the spar as a template. I drilled the #40 holes into every other hole on the flange first and then put clecos into the new holes. Then I switched to a #30 bit and drilled some of the holes on the web of the spar in a wide spread, putting clecos in each hole as I went. Then I removed the clamps and drilled all the holes that were left.
|
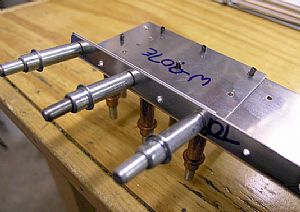 Followed the same routine on the end doubler plate Followed the same routine on the end doubler plate
|
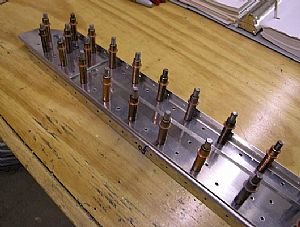 Final drilled the reinforcement fork and doubler plate to the rear spar Final drilled the reinforcement fork and doubler plate to the rear spar
I clecoed the W-907B reinforcement fork and the W-907C rear spar doubler plate to the W-907A spar channel and final drilled the rivet holes with a #30 drill bit.
|
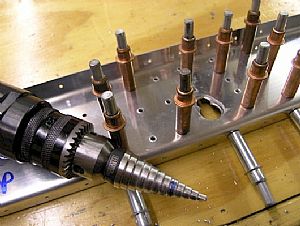 Started on the holes for the aileron pushrods Started on the holes for the aileron pushrods
The rear spar already has the hole for the aileron pushrods, I just have to match drill the reinforcement plate. I used my Unibit to remove a large portion of the area on the middle reinforcement plate.
|
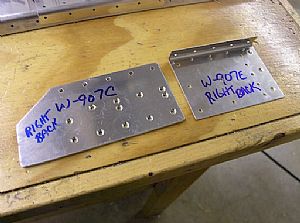 Countersunk some of the rivet holes in the doubler plates Countersunk some of the rivet holes in the doubler plates
Iím glad I had my notes from the left wing so I wouldnít have to figure out which holes get countersunk again.
|
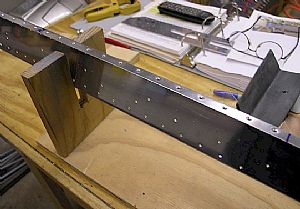 Dimpled specified rivet holes in the rear spar Dimpled specified rivet holes in the rear spar
According to the instructions, the flange holes in the rear spar would be difficult to dimple when the reinforcement plates are in the way. Now itís time to run the edges of all of these parts over the Scotchbrite wheel. I will assemble everything tomorrow.
|
Home Previous Entry Next Entry Back
|