RV-9A: Left Wing Skins - 9/30/2006
Home Previous Entry Next Entry Back |
Share on:

|
|
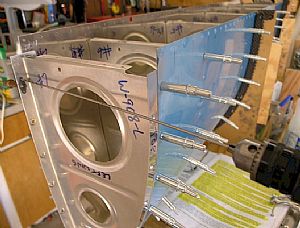
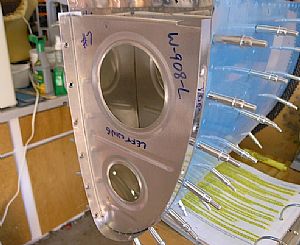 Started work on installing the nutplates on the W-919 splice plate Started work on installing the nutplates on the W-919 splice plate
This splice plate gives support to the tank skin which will sit on top of it and help snuggle the tank up to the outboard leading edge skin, for a nice transition down the leading edge of the wing. Here I just finished final drilling he splice holes with a #19 drill bit. Just for grins I decided to use the ATS hand squeezer to dimple the holes with a set of #8 dimple dies, which is shown in the next picture. I noticed that when I dimpled these holes, there wasn't a crater in the skin around dimple like the ones in the tank skin. Hmmmm...
|
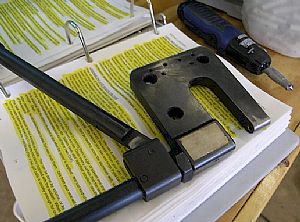 Here's my ATS hand squeezer Here's my ATS hand squeezer
I built a table top jig the holds the ATS squeezer, which comes in handy for somewhat hands-free dimpling of ribs. The one good good thing about the ATS squeezer that I have found is that the yoke is wider and stronger that the Avery yokes, thus the heavy weight. I call it the aligator jaw. It doesn't give in to squeezing pressures as much as the other yokes. I still like the Avery squeezer and yokes the best, but for heavy duty squeezing, this dude wins out.
|
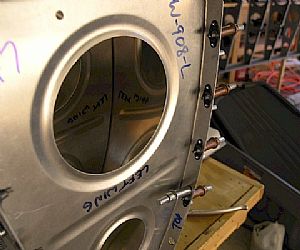
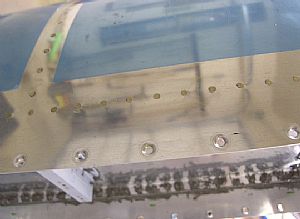 Re-squeezed the screw holes on the tank skin Re-squeezed the screw holes on the tank skin
When I looked down the line at the tank attach dimples, I could see slight craters around each dimple. I've seen several RV in-air photos of wings that have these dimples around their dimples. I decided to dimple these holes around with the #8 dimple dies, using the ATS "aligator" hand squeezer. Wow, it removed the craters completely!
|
 Okay, back to work! Okay, back to work!
I grabbed a #30 cleco and a nutplate and put the first one in place over the new dimple holes. Since the nutplate is already dimpled from the factory, it just naturally snuggled up to the skin dimple and for a nice tight fit.
|
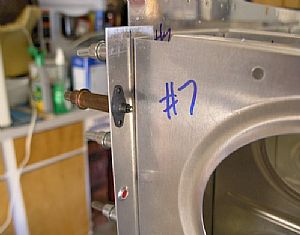
 Started drilling the rivet holes for attaching the nutplates Started drilling the rivet holes for attaching the nutplates
My wide angle lens on my camera tends to make things look a little distorted. The drill bit is really straight on this picture, it just looks off. I used my Avery 12 inch #40 drill bit to final drill the rivet holes into the skin, using the nutplate as a jig. These bits are really cool! They are flexible and allow you "drill around the corner" with them.
|
 Working my way around Working my way around
After I drill the top hole in the skin, through the nutplate, I put a #40 cleco in the new hole and drilled the other hole. This prevents the nutplate from moving around while drilling the second hole.
|
Home Previous Entry Next Entry Back
|


