RV-9A: Left Wing Skins - 9/15/2006
Home Previous Entry Next Entry Back |
Share on:

|
|
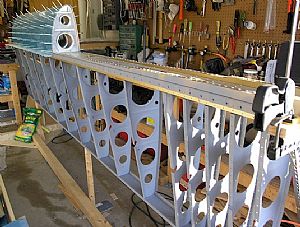 Back to work on the left wing. Allright! Back to work on the left wing. Allright!
HmmÖ What was I working on when I left this thing? Here I removed the top skins to start deburring and dimpling the rivet holes in the ribs and skins. I used my sharpie to mark the holes on the outer edges that donít get dimpled where the fuselage fairing and fiberglass tips will attach. I will also sand the edges of the skins to round them off a little.
|
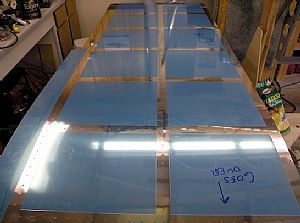 Got out the old soldering iron Got out the old soldering iron
After wrestling with tank for so long, this was actually fun work, no proseal mess. After I etched the out plastic film on the left top wing skin, I called out my kiddo to peal off the plastic over the rivet holes. He loves doing that.
|
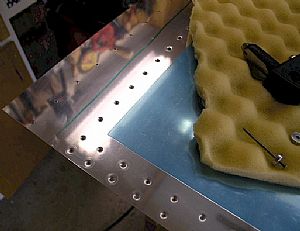 Dimpliní time Dimpliní time
If the skin Iím dimpling is thin enough, I like to use my pop-rivet dimplers. They do such a nice job of making perfect dimples with no dips in the outer skin anywhere. I purposely took this shot with the fluorescent light in the reflection to show that there are no dips in the skin around the dimple. What a smart-ass.
|
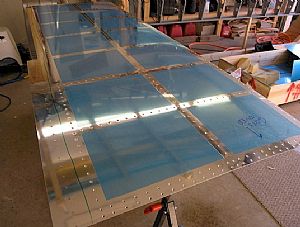 One skin down, 3 to go One skin down, 3 to go
Yeah, I know the pop-rivet dimplers take a long time, but it sure makes for a nice wing skin.
|
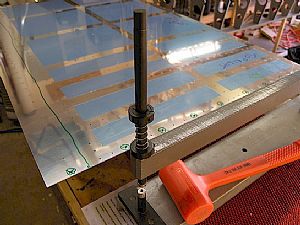 Started work on the smaller top inner wing skin Started work on the smaller top inner wing skin
No pop-rivet dimpler for this dude. Itís pretty thick. Before I start dimpling any sheetmetal, I always find a small sheet from the sample bundle that came with the tail kit that is the same thickness as the one Iím about to dimple. Then I experiment using the pop-rivet dimpler against the C-Frame dimpler. In this case, the C-Frame dimpler won out, the pop-rivet dimpler couldnít handle the thickness as was making dips in the practice piece. Tomorrow I will dimple this sheet with the C-Frame, giving each rivet hole one solid ďWHACKĒ with my dead-blow hammer. I found that anything more than one solid whack tends to make a dip in the skin (for me anyway).
|
Home Previous Entry Next Entry Back
|