RV-9A: Left Fuel Tank - 8/17/2006
Home Previous Entry Next Entry Back |
Share on:

|
|
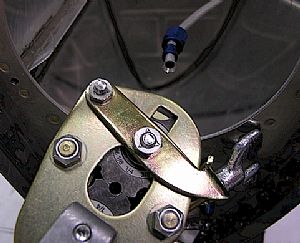 Doing things with a flare! Doing things with a flare!
Flare tool that is. I are a flare tool guy now. After reading the instructions and setting the flare tool for the 1/4 inch tubing, I was able to create a decent flare on the vent tube.
|
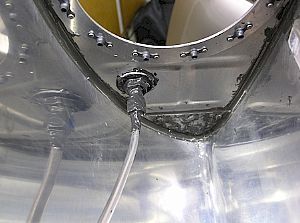 Attached the vent tube Attached the vent tube
I mixed up some proseal (my favorite) and gooped up the primary fitting that goes through the inboard rib and screwed on the nut using the torque setting recommended in the front part of the instruction manual. Then I screwed on the fitting attaching the 1/4 inch vent tube to the primary fitting. I also torqued this fitting using the settings recommended in Van's new Mandatory Service Bulletin (SB 06-2-23). Then I put on my Proseal to make sure there wonít be any leaks.
|
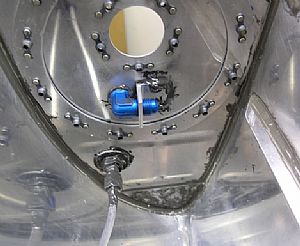 Prosealed and riveted the anti-rotation bracket Prosealed and riveted the anti-rotation bracket
After gooping up the back of the bracket and the fitting, I riveted the bracket in place with the fitting in place. Then I temporarily screwed in the access plate to the tank to make sure that up was up and down was down.
|
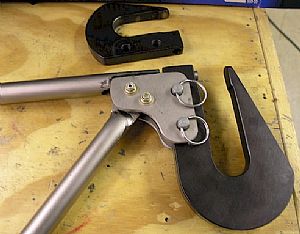 My new toy! My new toy!
I got this 4 inch no-hole yoke from Averys to put in the anti-rotation bracket rivets. Letís seeÖ. what yoke do I not have now? I am slowly becoming the Yokemeister.
|
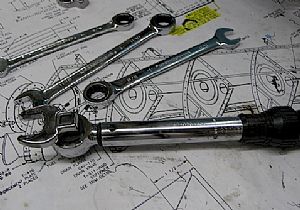 My torque wrench attachment My torque wrench attachment
This actually worked OK setting the torque on the fittings.
|
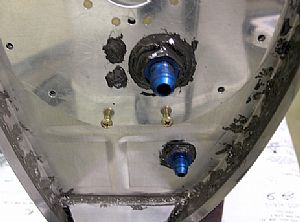 Prosealed the outside of the access panel Prosealed the outside of the access panel
I made sure to proseal the bracket rivet heads and the fittings to prevent any leaks. Tomorrow I will tie-wire the fuel pick-up tube in place.
|
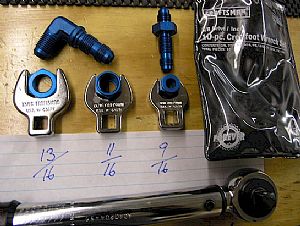 The Crow foots and related fittings The Crow foots and related fittings
Here are the 3 Crow foots I used on the three fittings. 13/16", 11/16" and 9/16". The torgue settings needed for these fittings are in section "5P ALUMINUM TUBING" of the instruction manual. UPDATE 12/30/2006: I just found out that if you use an extension on your torque wrench, you are supposed to calculate a different torque number (was that in the instructions??). Here's a link to a Torque Wrench Extension Calculator.
|
Home Previous Entry Next Entry Back
|