RV-9A: Left Fuel Tank - 6/16/2006
Home Previous Entry Next Entry Back |
Share on:

|
|
 Time for dimplin’! Time for dimplin’!
Before I took this puppy apart, I made sure that I had everything marked with my blue sharpie so I would be able to put this thing back together. Then I marked all the holes that don’t get dimpled with a big “X” using a sharpie.
|
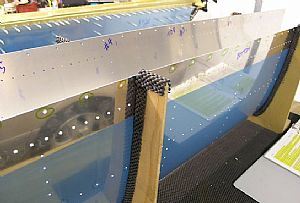
 Now the scary part, dimpling the big screw holes along the edge of the left tank skin Now the scary part, dimpling the big screw holes along the edge of the left tank skin
Before I tried this part, I got a scrap piece from the empennage practice bundle that was the same thickness as the tank skin and drilled the same size holes in it, close to edge, like the tank skin. Then I got the “C” frame out and put the dimples dies and gave her a large single whack with my dead blow hammer. The resulting dimple looked like Meteor Crater, a dimple with a big dip around it in the sheet metal. “Well, that’s look like crap”, I thought. “Ooh ooh, I know!, I’ll try giving it two whacks with the dead blow hammer”. This dimple looked even worse, like a teenager with really bad acne. The instructions specifically say to NOT use a hand squeezer to put these dimples in, so therefore, I am going to try it. I got my handy Avery Rivet Squeezer and gave it a try, squeezing the dimple dies into the skin holes, with a lot of hand pressure and as fast as possible. The result was indeed better than the “C” frame. It still had a slight dip around the dimple, but not near as bad as the “C” frame dimples. As you can see, it turned OK. UPDATE 12/1/2006: Check out the entry on the Skins page to see how I got the screw hole "dips" out with my ATS rivet squeezer.
|
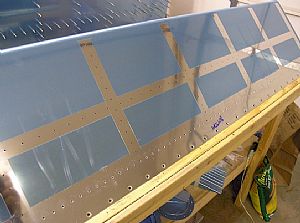
 Now for dimpling the tank skin for the small rivets Now for dimpling the tank skin for the small rivets
I learned my lesson from the previous episode that two whacks with the dead blow hammer on the “C” frame was not a good idea. So I put in my new tank dimple dies and went to town on the left tank skin, putting each dimple in with one solid WHACK. Looks pretty good, no dips.
|
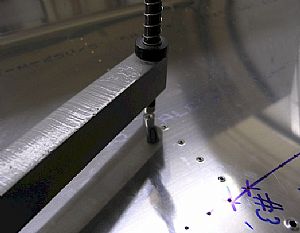
 Let’s see what the other side looks like Let’s see what the other side looks like
Looks OK. There were a couple dimples that were a little distorted around the hole, but not bad. These oopsies were caused by my not whacking the “C” frame plunger hard enough.
|
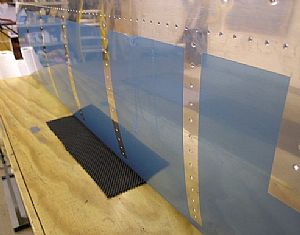
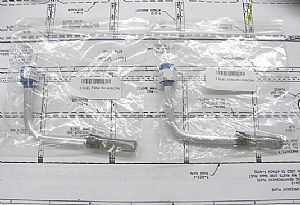 Ain’t this cool? Ain’t this cool?
I found these fuel pickups on Vans website for 15 bucks a piece. Everything is flared and ready to ready to install. One less thing to have to do.
|
 Cool! The tie down holes are pre-drilled! Cool! The tie down holes are pre-drilled!
I'm liking these guys more and more. Drilling those tiny holes in the nut has got to be a major pain in the bahootie. Thanks Van!
|
Home Previous Entry Next Entry Back
|


