RV-9A: Left Elevator - 1/8/2006
Home Previous Entry Next Entry Back |
Share on:

|
|
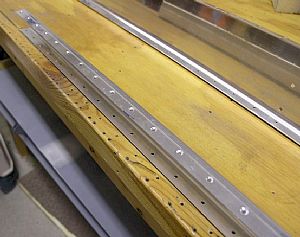
 Getting the left elevator spars and ribs ready for assembly Getting the left elevator spars and ribs ready for assembly
After taking everything apart, I countersinked the top row of rivet holes on the elevator spar. This allows use of a flat head rivet on the outer skin and attachment for the elevator hinge inside the elevator spar. The bottom row of rivet holes will be dimpled.
|
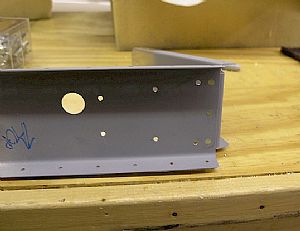
 Riveted the root rib to the main spar Riveted the root rib to the main spar
The instructions don't say much about this. I knew from working on the right elevator that I would need to countersink the main spar for the rivets that hold the root rib on. So I sanded the edges and primed the area where the root rib attaches to the spar. Then I used my Avery no-hole yoke to rivet the root rib to the spar.
|
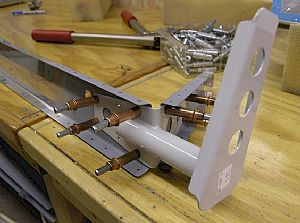
 Final drilled the control horn to the spar and root rib Final drilled the control horn to the spar and root rib
The instructions don't say squat about this part. Again I had refer back my experience with the right elevator. On the right elevator the instructions have a big blurb about aligning the control horn on the spar and root rib because there ain't no pre-drilled holes in the spar and rib. WRONG, there were indeed pre-drilled holes in the right elevator spar and rib for clecoing on the control horn. It is almost the same for the left elevator. There are pre-drilled holes in the spar for the control horn to cleco into. But the holes have to be drilled in to the root rib, using the existing holes in the control horn as a guide. I drilled everthing with a #40 drill bit and then went back and final drilled everything with a #30 drill bit.
|
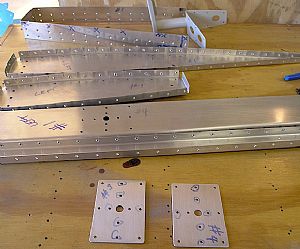
 All the parts are ready for priming! All the parts are ready for priming!
Tomorrow I will finished dimpling the skin.
|
Home Previous Entry Next Entry Back
|